You know that moment. You’ve finally signed up for a new IPTV service, you’re excited to watch your favourite channels in crisp HD, and then you hit a wall: cables everywhere, input menus that don’t respond, and a TV that refuses to show anything. It’s a frustration as old as the first flat-screen television, and it happens to more people than you’d think.
Here’s the good news: connecting an HDMI IPTV setup to your TV is genuinely straightforward once you know what goes where and why. Whether you’re using a streaming stick, an Android box, or a dedicated IPTV decoder, this guide walks you through every step, every cable choice, and every setting that stands between you and a flawless picture.
If you’re looking for a reliable starting point, the best iptv provider will always recommend getting your hardware connection right before worrying about subscriptions. So let’s start there.
Table of Contents
What Is HDMI IPTV and Why Does the Connection Matter?
IPTV stands for Internet Protocol Television. Unlike traditional cable or satellite TV, IPTV delivers your content over the internet, streaming it directly to a device in your home. That device – whether a box, a stick, or a built-in smart TV app – then needs to send its picture and sound to your screen. That’s exactly where HDMI comes in.
HDMI (High-Definition Multimedia Interface) is the universal standard for transmitting high-quality video and audio through a single cable. It replaced older formats like RCA and SCART because it handles resolutions up to 10K and can carry multichannel audio simultaneously. No separate audio cables, no quality compromise, no compatibility headaches.
A proper HDMI IPTV connection means your streams reach your TV screen at full resolution with perfect audio sync. It’s the difference between watching a Premier League match in sharp, saturated 4K and squinting at a washed-out, stuttering image on a poorly configured setup. The cable and the device both matter, and understanding them gives you complete control over your viewing experience.
Why HDMI Beats Older Connection Methods
Before HDMI became the standard, connecting a set-top box involved juggling separate video and audio cables. The picture quality was limited, and setup was unnecessarily complex. HDMI changed everything by bundling everything into one connection that supports:
- Full HD (1080p), 4K, and even 8K video resolutions
- HDR (High Dynamic Range) for richer contrast and colour
- Dolby Atmos and DTS audio passthrough
- HDCP (High-bandwidth Digital Content Protection) for secure content playback
- Plug-and-play setup with no drivers or software needed
Over 90% of TVs manufactured after 2010 include at least two HDMI ports. If your television is from this decade, you almost certainly have everything you need already built in.
The Main IPTV Devices That Use HDMI
Your IPTV experience begins with the device you choose. Each option connects to your TV via HDMI, but they differ in power, price, and purpose. Here’s a clear comparison to help you pick the right one for your setup:
| Device Type | HDMI Connection | Max Resolution | Price Range | Best For |
|---|---|---|---|---|
| Android TV Box | Full-size HDMI out | 4K HDR | $30 – $120 | Home setups, power users |
| Amazon Fire TV Stick | Built-in HDMI plug | 4K HDR | $30 – $55 | Casual users, portability |
| MAG IPTV Box | Full-size HDMI out | 4K | $60 – $150 | Dedicated IPTV subscribers |
| Nvidia Shield TV | Full-size HDMI out | 4K HDR | Dolby Vision | $150 – $200 | Audiophiles, gamers |
| Formuler Z Series | Full-size HDMI out | 4K | $80 – $160 | Serious IPTV users |
| Chromecast with Google TV | HDMI dongle | 4K HDR | $30 – $50 | Casual streaming |
| Smart TV (built-in app) | HDMI input only | Up to 8K | Varies | Minimal hardware setup |
Android TV Boxes
Android boxes are the most popular choice among dedicated IPTV users. They run the full Android operating system, which means you can install apps like TiviMate, IPTV Smarters Pro, or GSE IPTV directly from the Google Play Store or via sideloading. Most modern boxes support HDMI 2.0 output, delivering 4K HDR streams without any degradation. Popular models include the Xiaomi Mi Box S, MECOOL KM2 Plus, and H96 Max.
Fire TV Stick: The No-Cable IPTV Option
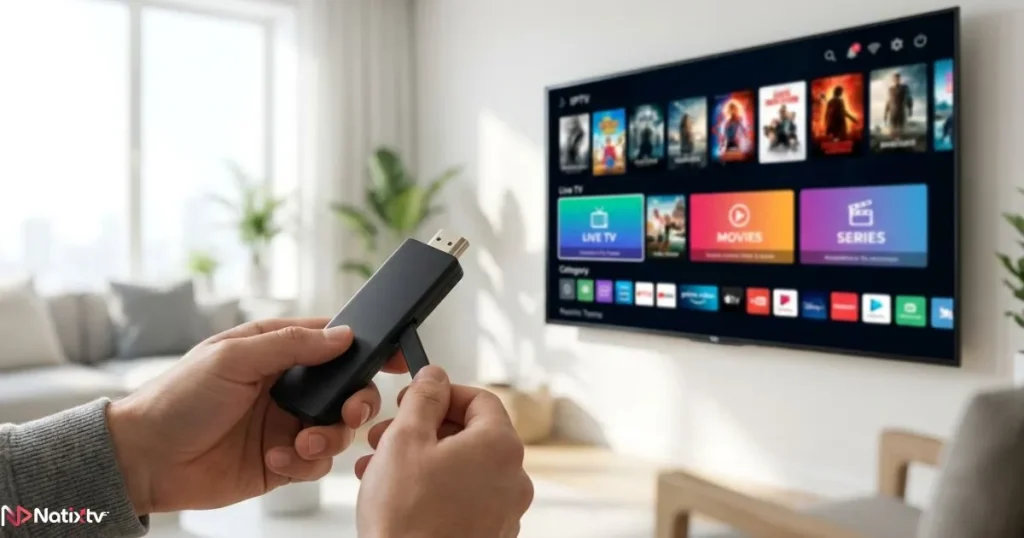
The Amazon Fire TV Stick is one of the easiest entry points into HDMI IPTV streaming. It plugs directly into your TV’s HDMI port, so there’s no separate cable to manage. The Fire TV Stick 4K Max is especially capable, supporting Dolby Vision and Wi-Fi 6 for smooth, high-resolution streams. For IPTV apps not available in the Amazon Appstore, you can sideload them using the Downloader app.
MAG Boxes: Purpose-Built for IPTV
If you want a device designed specifically for IPTV from the ground up, a MAG box is worth considering. These devices use Stalker middleware and connect to your IPTV provider through a simple portal URL. Setup is minimal, performance is stable, and they pair particularly well with premium IPTV subscriptions. If you’re weighing long-term value, it’s also worth reading about whether a long-term IPTV subscription plan makes financial sense before committing to a device.
Step-by-Step: How to Connect Your IPTV Device via HDMI
The physical setup is the easy part. Here’s what you’ll need and exactly how to do it.
What You’ll Need Before You Start
- An IPTV-compatible device (box, stick, or smart TV with built-in app support)
- An HDMI cable (or a streaming stick with a built-in HDMI connector)
- A television with at least one free HDMI input port
- A stable internet connection (wired Ethernet is recommended for 4K streams)
- An active IPTV subscription – Natixtv offers a free trial of 24 to 48 hours so you can test before you commit
The Connection Process: Step by Step
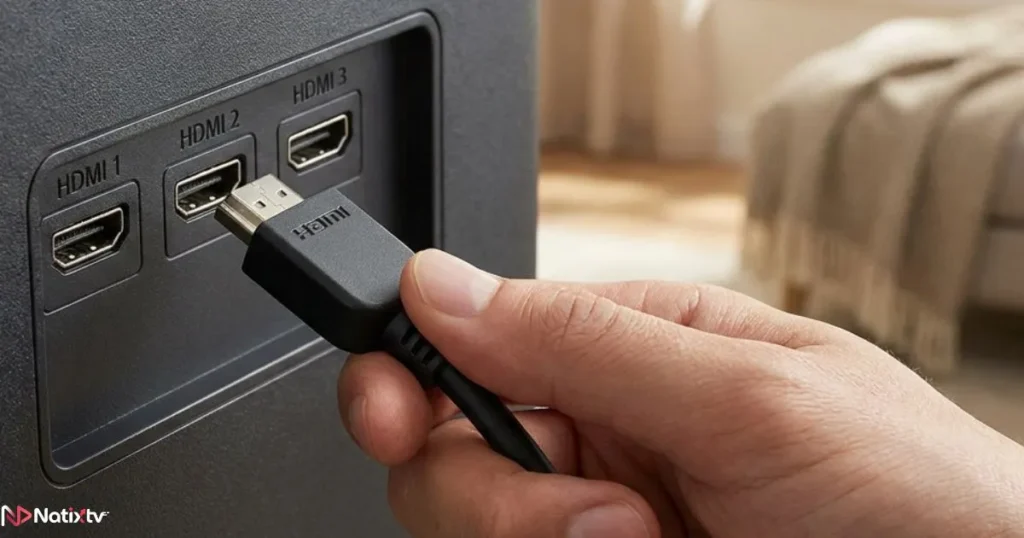
- Locate the HDMI port on the back or side panel of your TV. Most TVs label them HDMI 1, HDMI 2, and so on.
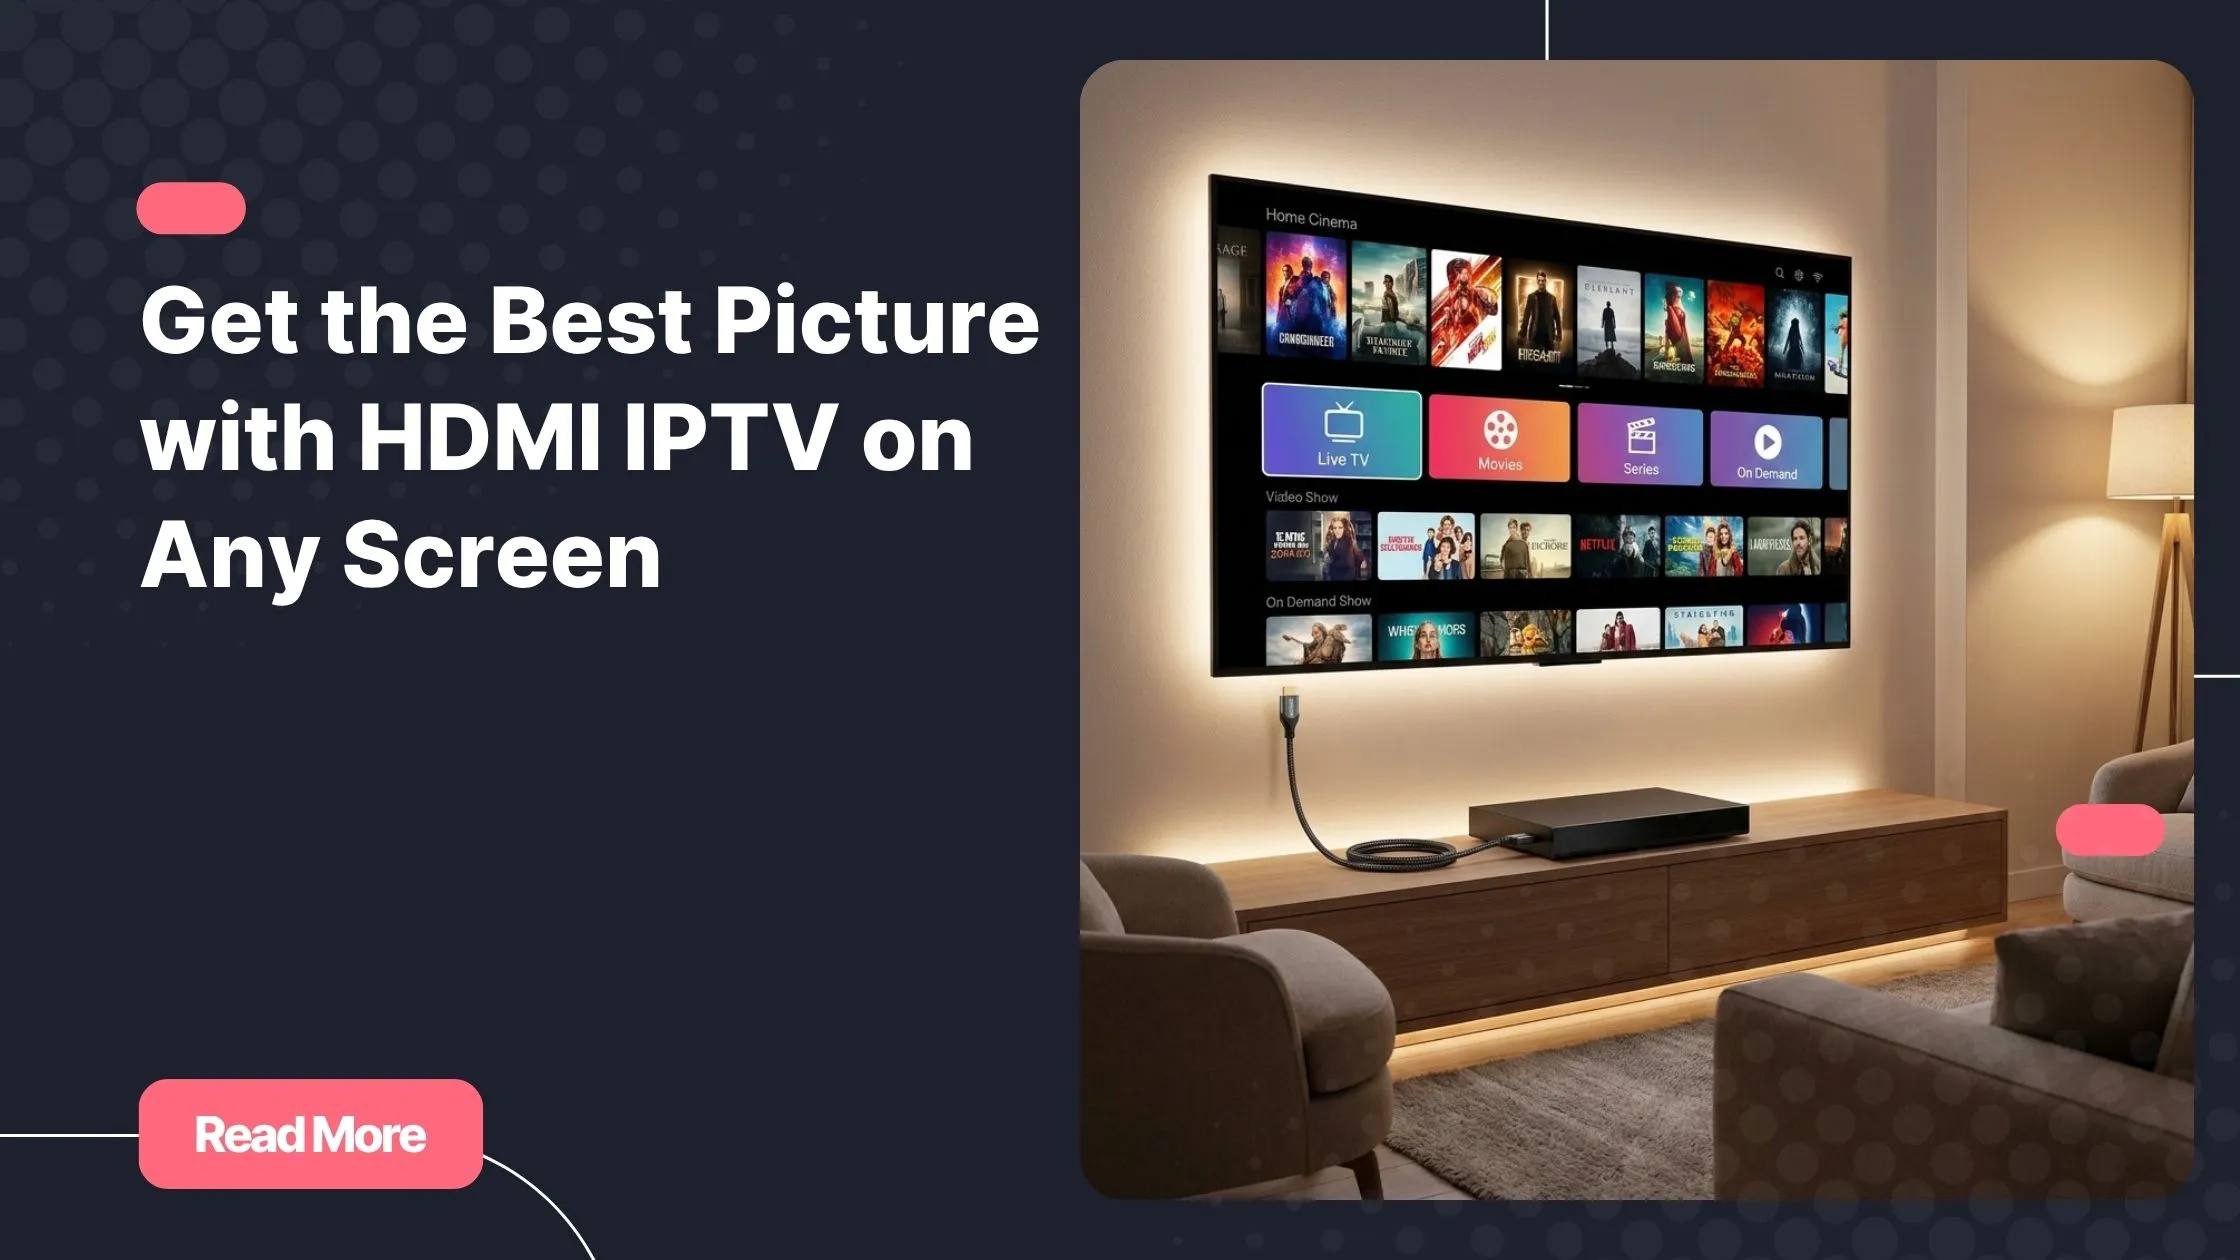
- Connect the cable from your IPTV device’s HDMI output into the TV’s HDMI input. If you’re using a Fire Stick or Chromecast, plug it directly into the port.
- Power on both devices – your TV first, then the IPTV device.
- Select the correct input source on your TV using the Source or Input button on your remote. Choose the HDMI port you connected to.
- Follow the on-screen setup wizard on your IPTV device to connect it to your Wi-Fi or Ethernet network.
- Install your preferred IPTV app – TiviMate, IPTV Smarters Pro, or the app recommended by your IPTV provider.
- Enter your M3U playlist URL or Xtream Codes credentials provided by your IPTV service.
- Start streaming – live TV, on-demand content, and catch-up channels are now available on your screen.
Troubleshooting Common HDMI IPTV Problems
Even with a correct setup, issues can occasionally appear. Here’s a quick reference for the most common ones:
| Problem | Likely Cause | Solution |
|---|---|---|
| No signal on TV | Wrong input source selected | Press Source/Input and select the correct HDMI port |
| Flickering or unstable image | Faulty or low-quality cable | Replace with a certified Premium High Speed HDMI cable |
| No audio | Audio output misconfigured | Set audio output to PCM or Auto in device settings |
| Resolution stuck at 1080p | HDMI 1.4 cable limitation | Upgrade to an HDMI 2.0 or 2.1 cable |
| HDCP error message | Content protection mismatch | Ensure both TV and device support HDCP 2.2 or higher |
Choosing the Right HDMI Cable for IPTV Streaming
Not all HDMI cables perform the same way. The version of the cable determines what resolutions and features it can actually carry. Using an outdated cable with a modern IPTV setup is one of the most common reasons people can’t get 4K working, even when their TV and device both support it.
| HDMI Version | Max Resolution | Max Bandwidth | 4K Support | Best Use Case |
|---|---|---|---|---|
| HDMI 1.4 | 1080p | 4K@30fps | 10.2 Gbps | Limited | Basic HD IPTV |
| HDMI 2.0 | 4K@60fps | 18 Gbps | Full | Standard 4K IPTV streaming |
| HDMI 2.1 | 8K@60fps | 4K@120fps | 48 Gbps | Full + HDR10+ | Future-proof 4K HDR setup |
For most users, an HDMI 2.0 cable is the sweet spot – it handles 4K at 60fps, supports HDR, and costs very little. If you’re building a premium home cinema setup or you plan to stream 4K HDR content across multiple devices, investing in HDMI 2.1 is worthwhile. One practical note: cable length matters. Beyond five metres, signal quality can degrade. For longer runs, choose an active HDMI cable, which includes a built-in signal amplifier.
If you’re also trying to keep costs sensible without sacrificing quality, exploring affordable IPTV options that still deliver premium stream quality can make a significant difference to your overall budget.
Optimising Your HDMI IPTV Setup for the Best Picture and Sound
Getting the physical connection right is only half the job. A few settings adjustments on both your TV and your IPTV device can dramatically improve your viewing experience.
Video Settings to Adjust on Your TV
Most modern televisions need a small nudge in their settings menu to unlock full 4K HDR performance over HDMI. Here’s what to look for:
- Enable “Enhanced” or “Ultra HD Deep Colour” mode on the specific HDMI port you’re using. This is required for 4K HDR signal to pass through correctly. The setting is usually found under Picture or External Input settings.
- Turn on HDR or Dolby Vision if your TV supports it. Most modern sets detect it automatically once the HDMI port is set to Enhanced mode.
- Disable motion smoothing (sometimes called TruMotion, MotionFlow, or Auto Motion Plus). This feature creates an artificial smoothness that many viewers find distracting during films and sports.
- Set the colour space to YCbCr 4:2:2 or 4:4:4 depending on your device’s output capability. Your IPTV device’s display settings will show you which modes it supports.
Audio Settings for Immersive Sound
Picture quality gets most of the attention, but audio can make or break an IPTV HDMI experience. If you’re connecting directly to your TV’s built-in speakers, set your audio output to PCM for clean stereo sound. If you have a soundbar or AV receiver, the setup changes:
- PCM: best for stereo setups and basic soundbars.
- Dolby Digital passthrough or DTS: required for true surround sound via an AV receiver.
- HDMI ARC (Audio Return Channel): allows your TV to send audio back through the same HDMI cable to a soundbar. This means one cable handles both video in and audio out. HDMI eARC (the enhanced version) supports lossless Dolby Atmos, which is ideal for a premium setup.
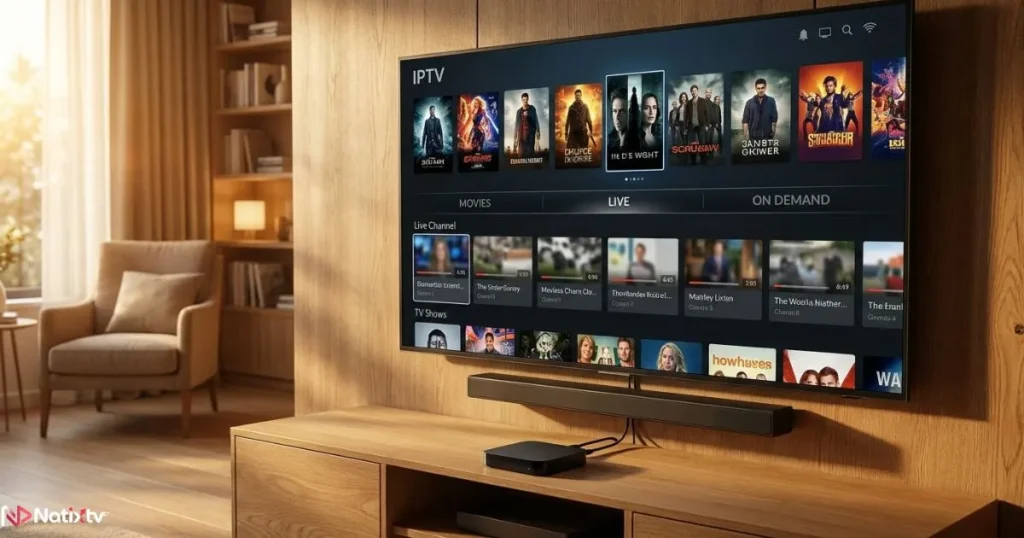
The recommended signal chain for the best audio experience: IPTV device output via HDMI to TV, then TV audio output via HDMI ARC or eARC to your soundbar or receiver.
Internet Speed: What You Actually Need
Your HDMI connection can only be as good as the stream feeding it. Here are realistic speed requirements based on stream quality:
| Stream Quality | Minimum Speed | Recommended Speed |
|---|---|---|
| SD (480p) | 5 Mbps | 10 Mbps |
| HD (1080p) | 10 Mbps | 20 Mbps |
| 4K UHD | 25 Mbps | 50+ Mbps |
| 4K HDR (multi-stream household) | 50 Mbps | 100+ Mbps |
Wired Ethernet connected to your IPTV box will always outperform Wi-Fi for consistency. If a wired connection isn’t practical in your space, a Wi-Fi 6 router placed close to your streaming device is the next best option. According to Speedtest’s global broadband index, average fixed broadband speeds in most countries now comfortably exceed 100 Mbps, meaning the majority of homes can handle 4K IPTV without any infrastructure upgrades.
Why Natixtv Is Designed for Your HDMI IPTV Setup
Choosing the right IPTV subscription matters as much as the hardware you use. Natixtv is fully compatible with all major HDMI-connected devices, including Android TV boxes, Amazon Fire Sticks, MAG decoders, Formuler boxes, and Smart TVs. Whether you’re using an M3U playlist, Xtream Codes, or a MAG portal URL, Natixtv supports all three setup methods.
Streams are optimised for high-resolution delivery, including HD and 4K content depending on your subscription plan. Natixtv’s infrastructure is built for stability, which means less buffering and fewer interruptions during live events. And if you’re not ready to commit, you can test the service completely free for 24 to 48 hours before making any decision.
If you’re serious about building a reliable, high-quality home IPTV setup, working with the best iptv provider means you’re not just buying a subscription – you’re investing in a consistently sharp, stable viewing experience that your HDMI connection can fully deliver.
FAQ – HDMI IPTV: Your Questions Answered
Q1 | What is HDMI IPTV and how does it actually work?
HDMI IPTV refers to using an HDMI connection to display IPTV content from a streaming device on your television. The IPTV device receives video and audio streams over the internet, then sends the full-quality signal through the HDMI cable directly to your TV. The result is a clean, high-definition picture with no additional hardware required beyond the cable and the device.
Q2 | Do I need a specific HDMI cable version for 4K IPTV?
Yes. For 4K streaming at 60fps with HDR, you need at minimum an HDMI 2.0 cable. An HDMI 1.4 cable can technically handle 4K, but only at 30fps and without HDR support, which noticeably reduces picture quality. For a fully future-proof setup, HDMI 2.1 is the best choice.
Q3 | Can I connect any IPTV box to my TV via HDMI?
In almost all cases, yes. Any IPTV device with an HDMI output can connect to any TV with an HDMI input. Nearly every television manufactured after 2010 includes at least one HDMI port. Simply plug in the cable, select the correct input source on your TV, and your device will be ready to configure.
Q4 | Why is there no picture or sound when I use HDMI IPTV?
The most frequent cause is a wrong input source selected on the TV – press your remote’s Source or Input button and cycle through until you see your device’s interface. If that doesn’t resolve it, check the cable itself: a damaged or low-quality HDMI cable can cause signal loss. HDCP compatibility errors are another possibility, particularly with older TVs paired with newer streaming devices. Switching HDMI ports on your TV often resolves this.
Q5 | What is HDMI ARC and should I use it with my IPTV setup?
HDMI ARC (Audio Return Channel) is a feature on most modern TVs that lets audio travel back through an HDMI cable from your TV to a soundbar or AV receiver. This is useful for IPTV setups because it means your IPTV device sends video and audio to the TV via one HDMI cable, and the TV forwards the audio to your soundbar via another. HDMI eARC is the upgraded version that supports lossless Dolby Atmos – worth using if your equipment supports it.
Q6 | Does Natixtv work with all HDMI-connected IPTV devices?
Yes. Natixtv is compatible with the full range of HDMI-connected IPTV hardware, including Android TV boxes, Amazon Fire TV Sticks, MAG decoders, Formuler boxes, and Smart TVs. It supports M3U, Xtream Codes, and MAG portal setup methods. You can try Natixtv free for 24 to 48 hours to confirm it works perfectly on your specific device before subscribing.
Ready to Get the Most from Your HDMI IPTV Setup?
Getting your device connected is just the beginning. The quality of what you stream matters just as much as the cable you use. A premium IPTV subscription delivers stable HD and 4K streams, a broad channel selection, and the reliability your setup deserves.
The setup takes a few minutes. The enjoyment, when everything comes together – the sharp picture, the clean audio, the smooth live streams – lasts for years. Don’t let a mediocre service hold back a great hardware connection.
Try best iptv provider Natixtv completely free for up to 48 hours and experience the difference a quality IPTV subscription makes on your HDMI-connected television. No commitment required.