There is a moment most of us know well. You have settled onto the couch after a long day, remote in hand, ready to unwind with your favorite show or catch a live match. Then it happens: buffering. Lag. A frozen screen. The evening you were looking forward to quietly falls apart. If you have ever been there, you already know that the content is not the problem. The setup is. Working with a reliable iptv service is only the beginning. What you actually watch it on matters just as much.
The truth is, choosing the right iptv equipment is the single most impactful decision you can make for your home streaming experience. It determines picture quality, playback stability, and whether your system feels effortless or endlessly frustrating. Yet most guides skip past it, assuming any screen and any internet connection will do. They will not, and this article will show you exactly why.
Whether you are setting up IPTV for the first time or upgrading a system that has been letting you down, this guide walks you through every piece of hardware you need, from the core IPTV devices to the networking accessories most people overlook. By the end, you will know precisely what to buy, what to skip, and how to build a setup that just works.
Table of Contents
What Is IPTV and Why Does Your Equipment Actually Matter?
A Quick Refresher on How IPTV Works
IPTV stands for Internet Protocol Television. Instead of receiving broadcast signals through a satellite dish or a coaxial cable, your content is delivered directly over your internet connection in real time. That means no aerial, no dish, and no cable box from your provider. Just an internet connection, a subscription, and the right hardware.
According to Statista, the global IPTV market is expected to exceed 100 billion US dollars by 2028, driven by the shift away from traditional broadcast television. Millions of households worldwide are already making the switch, and the technology has matured significantly. Today, you can stream in 4K UHD with near-zero latency, provided your iptv equipment is up to the task.
Why the Wrong Hardware Ruins the Experience
This is the part most buyers miss. Your subscription delivers the signal. Your hardware decides what you actually see and hear. An underpowered processor on a cheap IPTV box cannot decode a 4K stream smoothly, and the result is buffering even when your internet speed is perfectly adequate. An outdated router introduces packet loss that interrupts live streams at the worst moments. Incompatible apps crash mid-episode.
The bottom line: your iptv equipment is not a secondary consideration. It is the foundation everything else rests on.
The Core IPTV Equipment You Actually Need
IPTV Box and Receiver Options: Where to Start
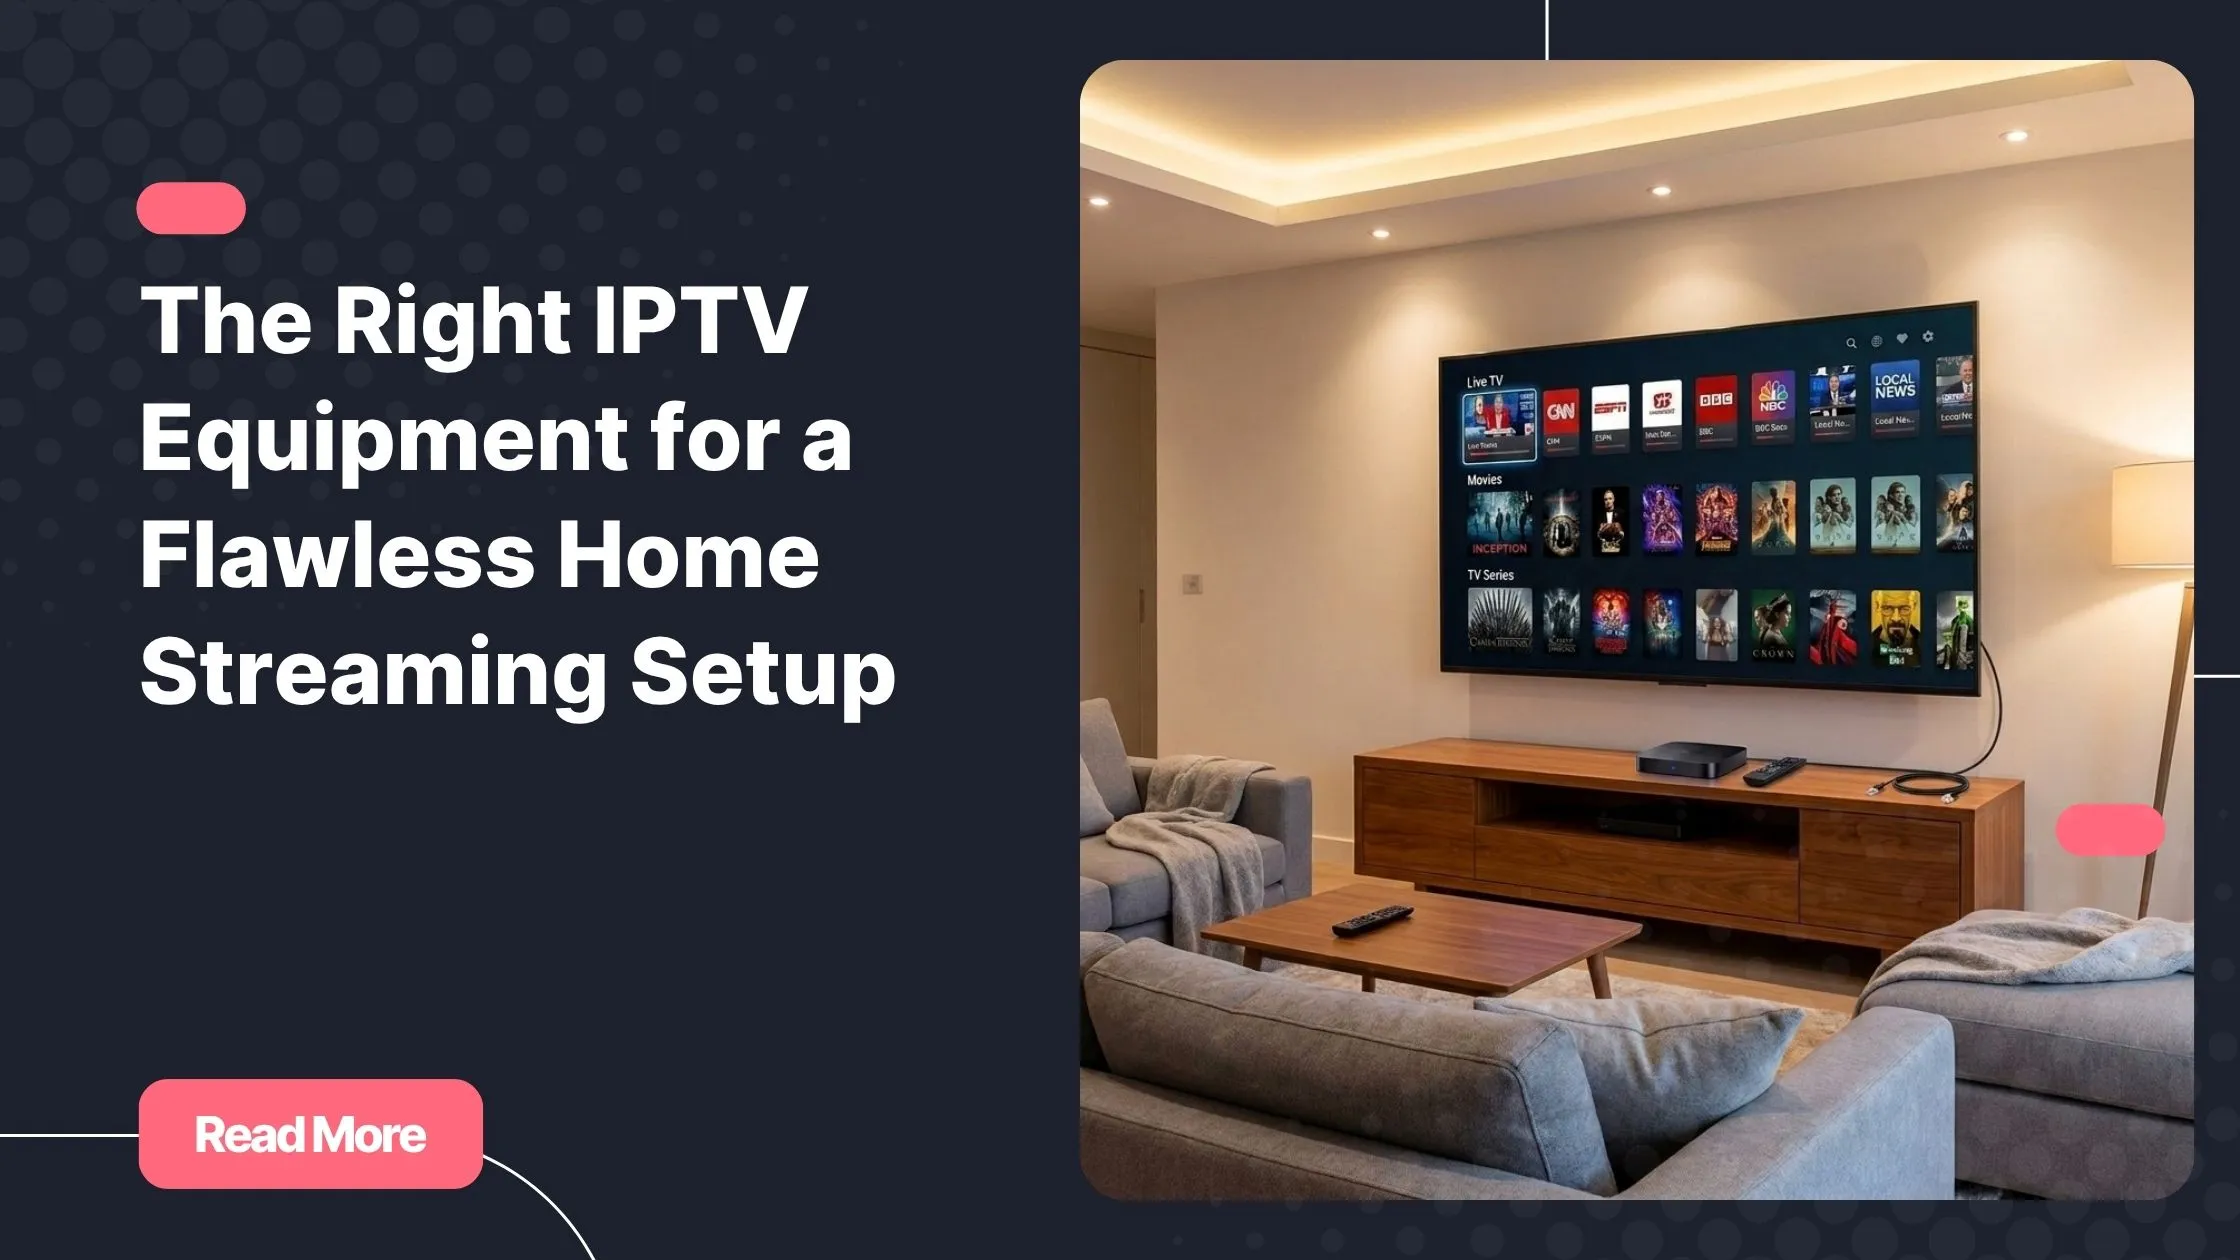
An IPTV receiver, sometimes called an IPTV box, is the device that connects to your television and decodes the stream coming from your subscription provider. Some are dedicated to IPTV, while others are general-purpose Android streaming devices that happen to run IPTV apps extremely well. Here is a comparison of the main options available today:
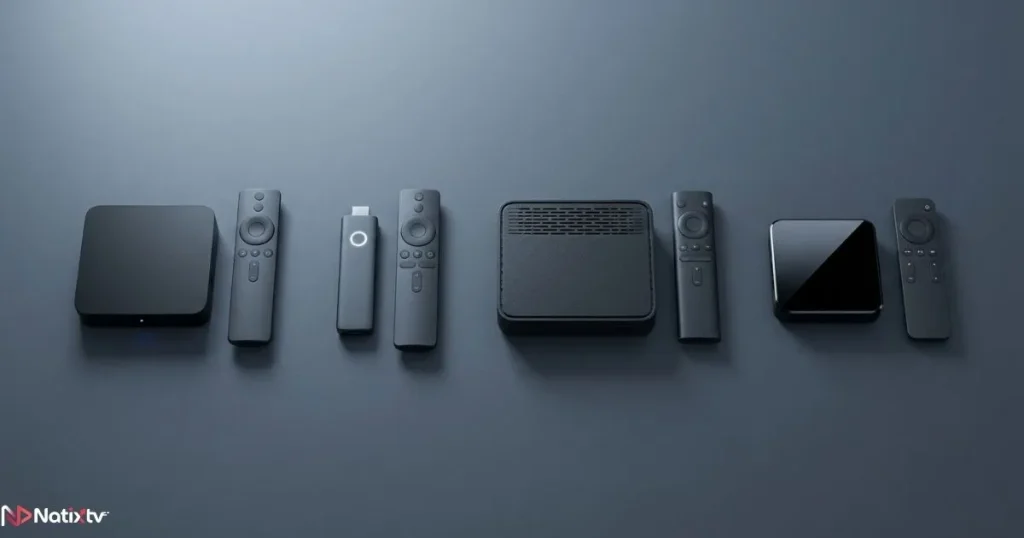
| Device Type | Example Models | Best For | Price Range |
|---|---|---|---|
| Android TV box | NVIDIA SHIELD, Formuler Z8 | Power users, 4K streaming | $80 – $200 |
| Amazon Firestick | Fire TV Stick 4K Max | Budget-friendly, easy setup | $35 – $60 |
| Dedicated IPTV box | MAG 524, Formuler Z10 | Advanced users, IPTV-first | $70 – $150 |
| Apple TV | Apple TV 4K (3rd gen) | Apple ecosystem users | $130 – $180 |
All of the devices listed above are fully compatible with Natixtv subscriptions. You can use your existing hardware or pick up something new and be up and running within minutes.
Smart TV IPTV: Using What You Already Own
If you own a modern Smart TV running Samsung Tizen, LG webOS, or Android TV, there is a good chance you already have one of the most convenient pieces of iptv equipment sitting in your living room. These platforms can run IPTV apps natively, eliminating the need for an external device entirely.
The best apps for Smart TV IPTV include TiviMate (Android TV only), IPTV Smarters Pro, and GSE Smart IPTV. The one caveat worth knowing: Samsung and LG app stores are more restrictive than Google Play, so some apps may require sideloading. If you run into authorization issues after installation, this troubleshooting guide on fixing IPTV Smarters login errors will walk you through the most common fixes quickly.
Firestick IPTV: The Compact, Budget-Friendly Champion
Among all the iptv equipment available at the entry level, the Amazon Firestick is arguably the most popular worldwide. It is small enough to fit in your pocket, simple enough to set up in under ten minutes, and powerful enough to handle HD and 4K streams without breaking a sweat.
The Fire TV Stick 4K Max is the version worth buying. It adds Wi-Fi 6 support and a noticeably faster processor compared to the standard model. The one limitation to be aware of: the Firestick has no built-in ethernet port. If you need a wired connection, a simple USB-C to ethernet adapter solves the problem cleanly.
Android TV Box: Power, Flexibility, and Future-Proofing
For users who want more than just a streaming stick, an Android TV box is the upgrade that makes a real difference. These devices run a full version of Android, give you access to the Google Play Store, and offer significantly more processing power than entry-level sticks.
When shopping for an Android TV box to use as iptv equipment, look for these minimum specs:
- At least 2 GB of RAM (4 GB preferred for 4K)
- 16 GB of internal storage or more
- Android 9 or later
- A built-in ethernet port for wired connectivity
- Support for H.265 / HEVC hardware decoding
The NVIDIA SHIELD Pro is the undisputed benchmark in this category. It is expensive, but it handles every stream format thrown at it without hesitation, including Dolby Vision and Atmos passthrough.
The Networking Equipment That Makes or Breaks Your Stream
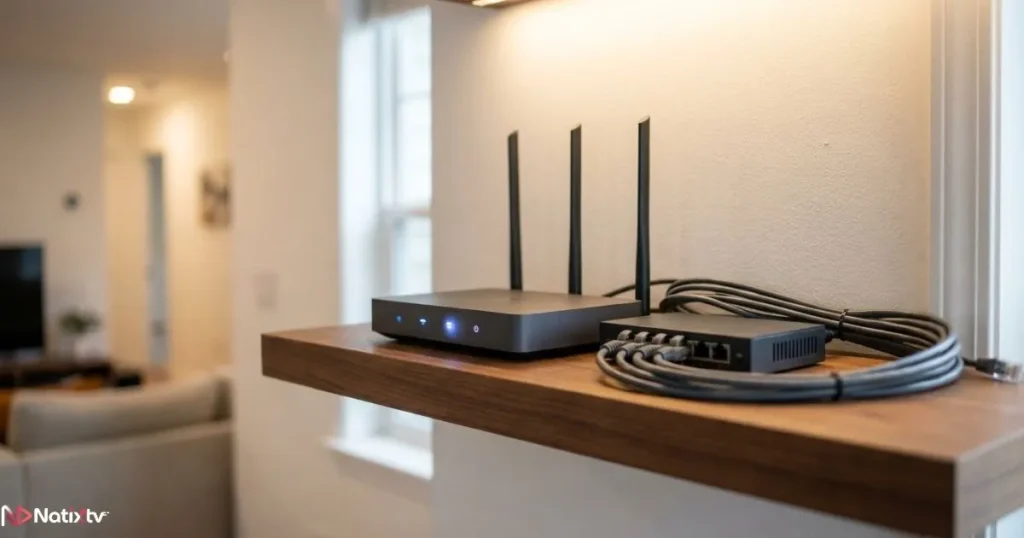
This is the section most buyers skip. Your router and home network are invisible pieces of iptv equipment, but they have more impact on daily streaming quality than almost any other component. Getting this right eliminates 80% of the buffering and dropout complaints people associate with IPTV.
Internet Speed Requirements by Stream Quality
| Stream Quality | Minimum Speed | Recommended Speed |
|---|---|---|
| SD (480p) | 5 Mbps | 10 Mbps |
| HD (720p / 1080p) | 10 Mbps | 25 Mbps |
| Full HD (1080p stable) | 15 Mbps | 30 Mbps |
| 4K UHD | 25 Mbps | 50+ Mbps |
Your Router: The Most Underrated Piece of IPTV Streaming Equipment
If your router is more than three years old, it is likely your biggest obstacle. A modern dual-band or tri-band router with Wi-Fi 6 support dramatically reduces latency and handles multiple simultaneous streams without degradation. Brands like TP-Link, ASUS, and Netgear all offer excellent mid-range options in the $80 to $150 range that transform the streaming experience in households with three or more connected devices.
The spec to prioritize: MU-MIMO (Multi-User Multiple Input Multiple Output). This technology allows your router to communicate with multiple devices simultaneously rather than cycling through them one at a time, which makes a real, measurable difference during peak household usage.
Ethernet vs. Wi-Fi: Which Connection Should You Use?
The honest answer is: wired whenever possible. An ethernet connection offers lower latency, zero wireless interference, and rock-solid stability that no Wi-Fi setup can fully replicate. For 4K streaming or live sports in particular, a direct ethernet connection between your IPTV receiver and your router is the cleanest solution.
When Wi-Fi is your only option, use the 5 GHz band rather than the 2.4 GHz band, and position your device within clear line-of-sight of the router. If your streaming device is in a room far from the router, a powerline ethernet adapter is an excellent middle-ground solution that delivers near-wired performance over your home’s existing electrical wiring. For optimal display results from any device, it also helps to understand how to configure your HDMI connection for the best picture quality, especially when switching between resolutions.
Optional IPTV Accessories That Genuinely Improve the Experience
Once your core iptv equipment is in place, a handful of well-chosen IPTV accessories can take the experience from good to excellent without requiring a significant additional investment.
External Storage
If your IPTV app supports PVR (Personal Video Recorder) functionality, you can record live channels and save them for later viewing. This requires external storage. A USB 3.0 flash drive works for light use, but a compact external SSD offers faster write speeds and better reliability for regular recording.
Universal and Voice-Enabled Remotes
Managing multiple IPTV devices with separate remotes is more of a headache than it sounds. A Logitech Harmony universal remote consolidates everything into one controller. Alternatively, if your streaming device supports Alexa or Google Assistant, a voice-enabled remote lets you switch channels, search titles, and adjust settings hands-free, which is a genuinely useful daily convenience.
Audio Equipment for Immersive Viewing
Your display quality is only half the equation. A soundbar with HDMI ARC support connects cleanly to your TV and delivers a significant audio upgrade without complex wiring. For users who want the full cinema experience at home, a basic 5.1 surround system paired with Dolby-capable iptv equipment completes the picture.
HDMI Switches and Splitters
If you have multiple IPTV devices connected to a single television, an HDMI switch lets you toggle between inputs with a single button rather than crawling behind the TV. Make sure any switch you buy supports 4K at 60Hz to avoid downscaling your signal.
Choosing the Right IPTV Equipment for Your Situation
Not every setup suits every household. Here is a practical matching guide based on common user profiles, so you can make a confident decision without overbuying or undershooting:
| User Profile | Recommended Setup |
|---|---|
| Budget-conscious beginner | Amazon Firestick 4K + router upgrade |
| Family with multiple TVs | Android TV box per room + Wi-Fi 6 router |
| 4K enthusiast | NVIDIA SHIELD + wired ethernet |
| Apple ecosystem user | Apple TV 4K + Natixtv subscription |
| Traveler or occasional viewer | Firestick (portable) + mobile hotspot |
Before finalizing your choice, ask yourself a few key questions:
- What resolution do you need: SD, HD, or 4K?
- How many simultaneous streams will your household use?
- Do you already own a compatible Smart TV?
- Is your internet connection stable and fast enough for your target quality?
- Do you want PVR recording capabilities?
How to Set Up Your IPTV Equipment: A Step-by-Step Overview
Once you have your hardware sorted, getting everything running is straightforward. Here is what the process looks like with a reliable iptv service like Natixtv:
Step 1 – Connect Your Device
Plug your IPTV box or Firestick into your TV’s HDMI port. Connect it to your internet, either via ethernet directly or through your Wi-Fi network. Make sure your router is placed as close to the device as practical if using wireless.
Step 2 – Install Your IPTV App
Download your preferred IPTV application from the app store. TiviMate and IPTV Smarters Pro are the two most popular choices and both work excellently with Natixtv credentials. On a Firestick, you may need to install via the Downloader app if your chosen app is not listed in the Amazon App Store directly.
Step 3 – Enter Your Subscription Details
Natixtv provides your credentials in either M3U URL format or Xtream Codes format, both of which are supported by all major IPTV apps. You will find these details in your Natixtv account dashboard immediately after subscribing or activating your free trial.
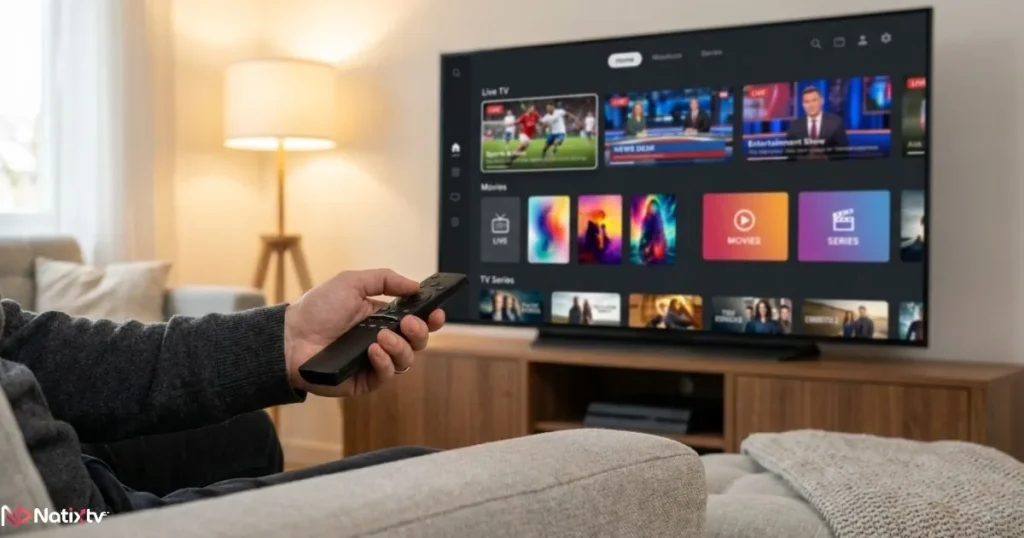
Step 4 – Test and Optimize
Play a few channels across different categories: a live sports stream, a movie channel, and a news feed. If you notice any buffering, check your app settings and enable hardware decoding. This option uses your device’s dedicated video processor rather than software decoding, which significantly reduces strain and eliminates stuttering on most modern iptv equipment.
Why Natixtv Pairs Perfectly With Any IPTV Setup
Finding the best iptv equipment is one side of the equation. Pairing it with a subscription service that matches that quality is the other. Natixtv is designed to work with every type of hardware covered in this article: Android TV boxes, Firestick, Smart TVs, MAG boxes, Apple TV, and even PC or Mac.
The service supports both M3U and Xtream Codes formats, which means it is compatible with virtually every IPTV application on the market. Channels are available in HD and 4K where the source allows, and the infrastructure is built for consistent uptime rather than peak-and-crash performance.
Most importantly, Natixtv offers a free trial of 24 to 48 hours. That means you can test the service on your own iptv equipment, in your own home, on your actual internet connection, before spending a single dollar on a subscription. There is no better way to verify compatibility and stream quality than a real-world test with zero financial commitment.
Frequently Asked Questions
What is the best iptv equipment for someone just getting started?
For most beginners, an Amazon Firestick 4K Max paired with a modern dual-band router is the ideal starting point. It is affordable, simple to set up, and handles HD and 4K streams reliably. Combine it with a subscription like Natixtv and you can have a fully working setup in under 30 minutes.
Do I need to buy special iptv equipment, or can I use what I already own?
In many cases, you do not need to buy anything new. If you already own a modern Smart TV with Android TV, Samsung Tizen, or LG webOS, you may be able to install an IPTV app directly. An existing Firestick or Android TV box will also work perfectly in most cases. Your current hardware is the best place to start before investing in anything additional.
How much should I budget for a complete IPTV streaming equipment setup?
A solid entry-level setup (Firestick + basic router) costs between $50 and $80. A mid-range setup (Android TV box + Wi-Fi 5 router) runs $130 to $200. A premium 4K setup (NVIDIA SHIELD + Wi-Fi 6 router + ethernet) sits in the $300 to $400 range. In all cases, the subscription cost is separate and typically modest compared to traditional cable packages.
What is the difference between an IPTV box and an IPTV receiver?
The terms are often used interchangeably in everyday language. Technically, an IPTV receiver refers to any hardware that receives and decodes an IPTV stream, including your TV itself if it runs a compatible app. An IPTV box specifically refers to an external device that you connect to your television. Functionally, they do the same job. The distinction matters mainly when comparing spec sheets and pricing.
Does my router count as IPTV streaming equipment?
Absolutely, and it is often the most impactful upgrade you can make. Your router determines how consistently and how fast your stream arrives. A router that cannot sustain stable throughput will cause buffering regardless of how powerful your IPTV box is or how fast your ISP plan claims to be. Think of your router as the invisible foundation of your entire IPTV setup.
Is a VPN necessary when using IPTV streaming equipment?
A VPN is not required to use IPTV, and it is not part of the core setup. Some users choose to run one for privacy reasons or to access region-specific content. If you do use a VPN, make sure it supports split tunneling so you can route only your IPTV traffic through it, which reduces any speed impact on the rest of your connection.
Conclusion
A great home streaming experience is built on three things: the right device, a solid network, and a subscription that delivers on its promise. You do not need to spend a fortune to get all three. Smart choices matter far more than expensive hardware. A well-configured Firestick on a decent Wi-Fi 6 router will outperform a premium IPTV box on a five-year-old router every single day.
The best next step is to take what you have already read here, match it to your actual situation, and start with what you own. Upgrade one component at a time, beginning with whichever is currently the weakest link. And before committing to any subscription, use it to verify that your iptv equipment and your network can deliver the quality you expect.
Natixtv makes that easy. A free trial of 24 to 48 hours lets you test the full service on your own hardware with no risk and no commitment. Every device covered in this guide is supported, setup takes minutes, and the quality speaks for itself. Visit iptv service today and see what your setup is actually capable of. Start Your Free Trial Now