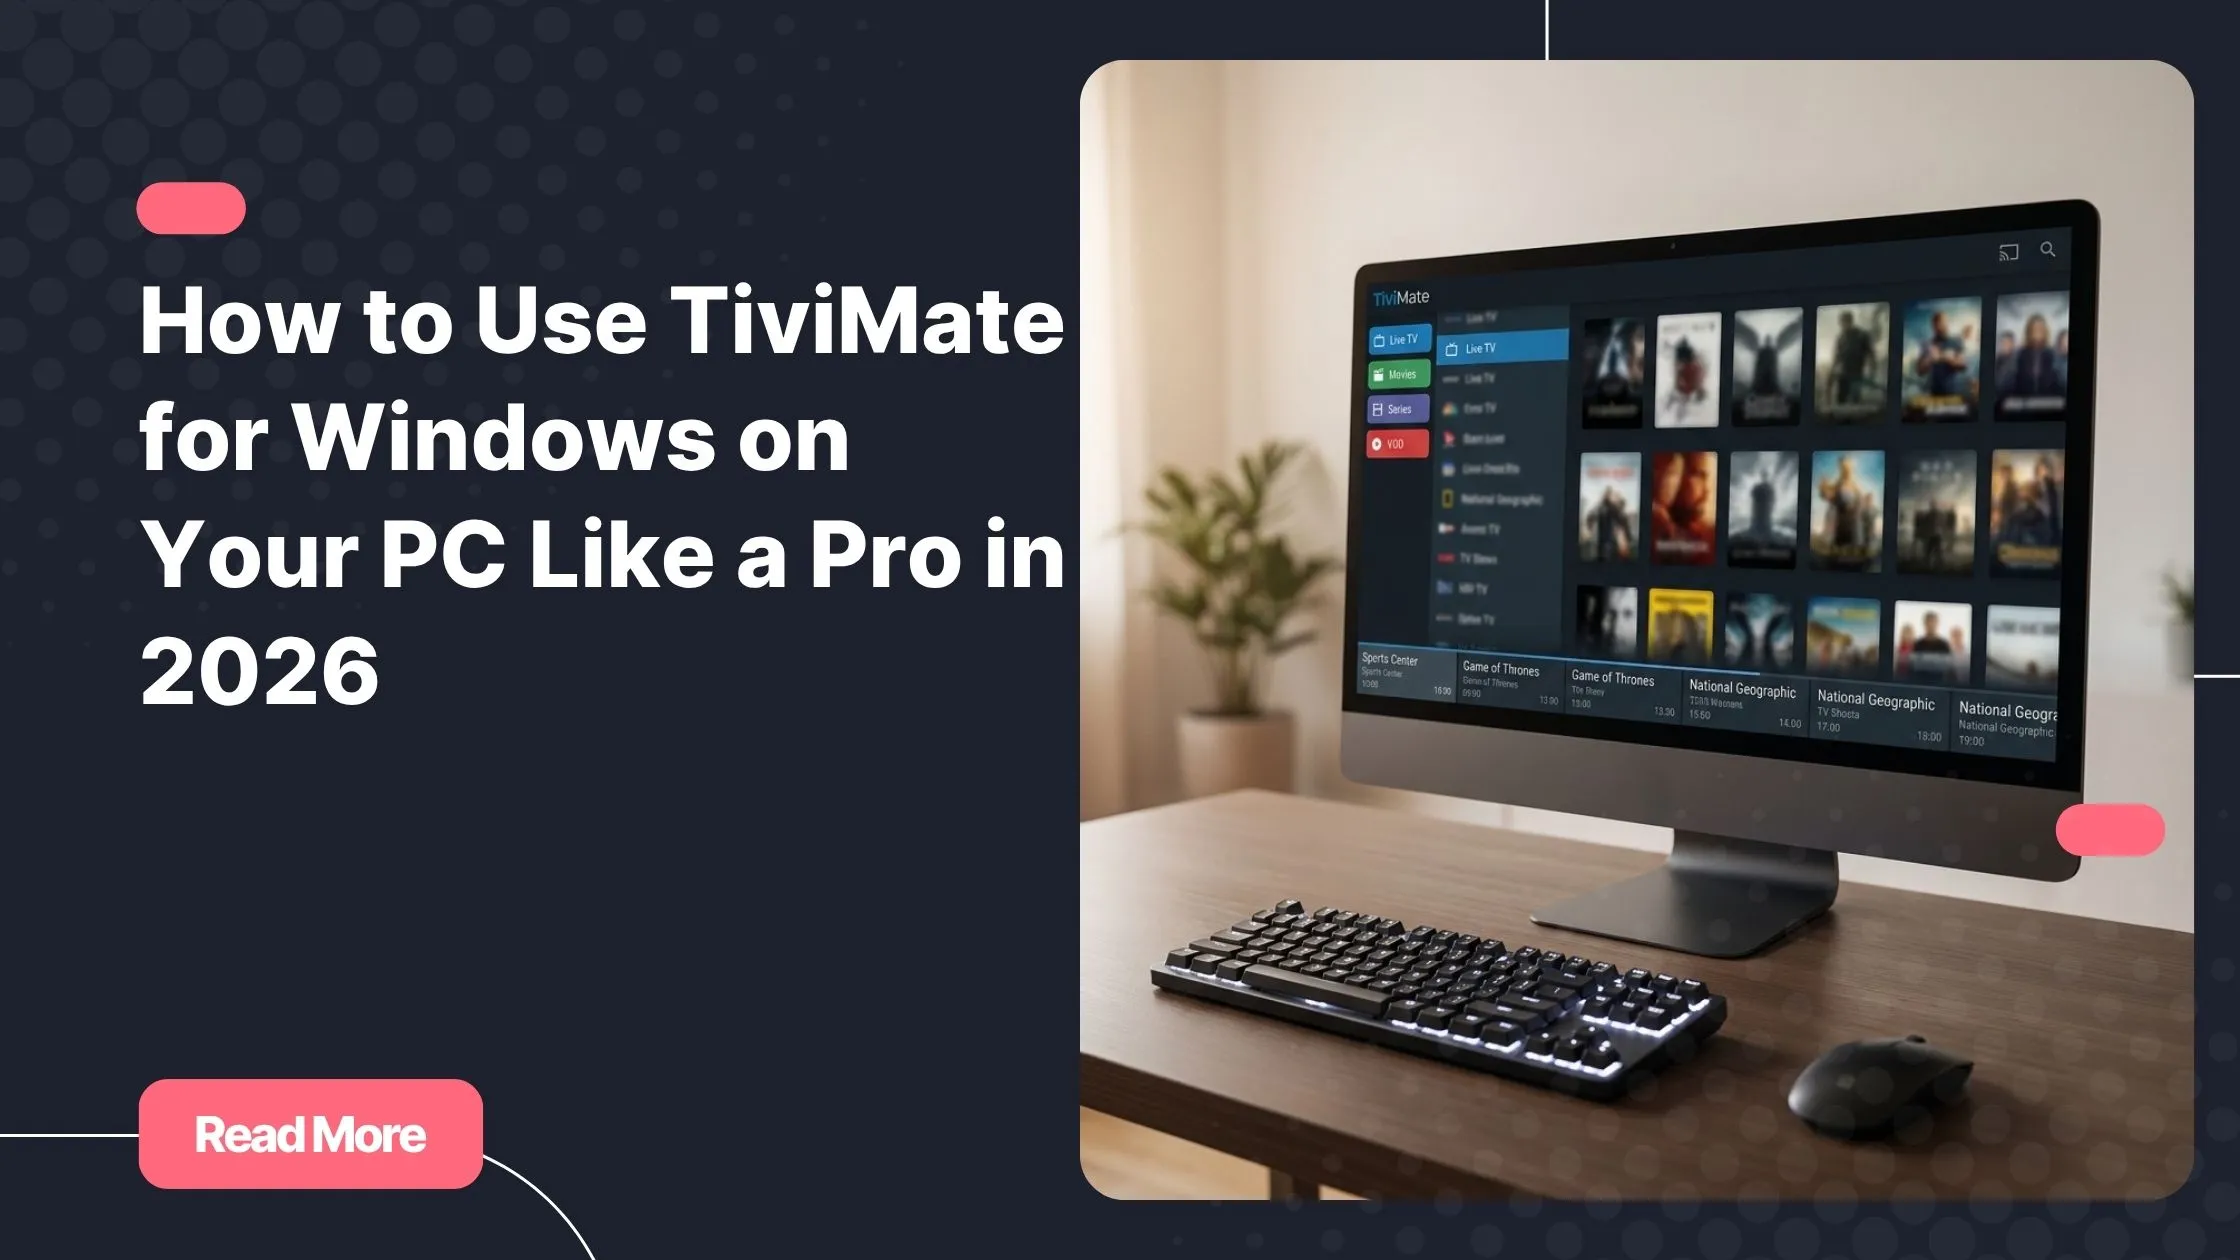
Picture this: it’s a Sunday afternoon, your favorite league match kicks off in twenty minutes, and you want to watch it on your laptop without fumbling through a dozen apps or carrying a separate streaming box to the couch. You’ve heard that TiviMate is the gold standard for IPTV – smooth interface, clean EPG, rock-solid stability. But you keep hitting the same wall: TiviMate was made for Android, not Windows. If you’re watching iptv in usa and you want TiviMate running on your PC, this guide is exactly what you’ve been looking for.
The frustration is real. You search, you find half-answers, you close seventeen tabs and end up back at square one. What you actually need is one clear, complete walkthrough that covers every working method for 2026 – no guesswork, no outdated tricks. This article does exactly that.
By the time you finish reading, you’ll know how to install TiviMate on Windows, which tools give you the best streaming experience, how to connect your IPTV subscription in minutes, and what native PC alternatives are worth your time when you want a zero-emulation setup. Let’s get into it.
Table of Contents
What Is TiviMate and Why Do PC Users Want It?
TiviMate is an IPTV player built for Android that has become the go-to choice for serious cord-cutters worldwide. It combines a slick, TV-friendly interface with powerful features that cheaper apps simply can’t match. If you’ve used it on a Fire Stick or an Android TV box, you already know why people are determined to bring TiviMate for Windows into their daily setup.
Key Features That Make TiviMate Stand Out
- A clean, customizable channel grid with a fully integrated EPG (Electronic Program Guide)
- Multi-panel layout so you can browse channels while watching live TV
- Catch-up TV support – go back and watch content you missed
- Built-in recording via external storage
- Parental controls and channel grouping by category or favorite
- M3U and Xtream Codes compatibility with virtually any IPTV provider
Why PC Users Are Searching for TiviMate for Windows
Your Windows PC or laptop is already the center of your digital life. It has a big screen, a fast processor, and it’s always on. It makes perfect sense to want your IPTV experience there rather than managing a separate Android device. Demand for TiviMate on Windows 10 and TiviMate on Windows 11 has grown sharply, especially as more people cut the cord and rely entirely on IPTV for their entertainment.
The challenge? There is no official Windows version. But that doesn’t mean you’re stuck – it just means you need the right approach.
The Hard Truth: No Official TiviMate for PC App Exists
Let’s be upfront about this. As of 2026, the developers behind TiviMate have not released a native Windows application. TiviMate is an Android APK – it runs on Android devices, Android TV boxes, Fire Sticks, and similar hardware. There is no direct download for Windows, no Microsoft Store listing, and no official workaround from the TiviMate team itself.
That said, the community-proven solution is widely used, stable, and surprisingly easy to set up: you run TiviMate on Windows through an Android emulator. A second option is to use a native PC app that replicates most of what TiviMate does – no emulation required. Both paths are covered in full below.
Method 1 – Run TiviMate on Windows Using an Android Emulator
An Android emulator is software that creates a virtual Android device on your Windows PC. Your computer runs the emulator, the emulator runs Android, and Android runs TiviMate. The result is a fully functional TiviMate experience on your desktop or laptop – including EPG, catch-up, multi-panel view, and all the settings you’re used to.
Best Android Emulators for TiviMate in 2026
| Emulator | Windows 10 | Windows 11 | Ease of Use | Performance | Best For |
|---|---|---|---|---|---|
| BlueStacks 5 | Yes | Yes | Excellent | Very Good | Beginners |
| LDPlayer 9 | Yes | Yes | Very Good | Excellent | Power users |
| NoxPlayer | Yes | Yes | Good | Good | Casual use |
| WSA (native) | No | Yes | Advanced | Excellent | Windows 11 tech users |
For most people, BlueStacks 5 is the smartest starting point. It’s free, actively maintained, and the installation process takes under ten minutes. If you’re on a high-spec machine and want the best raw performance, LDPlayer 9 is worth considering.
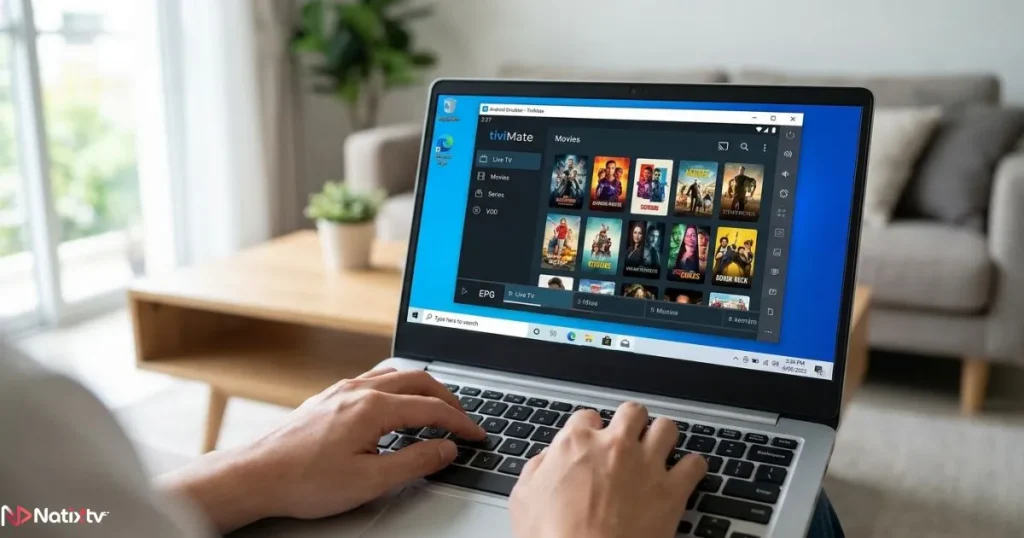
Step-by-Step: Install TiviMate on Windows via BlueStacks
- Go to the official BlueStacks website and download the latest installer for your system.
- Run the installer and follow the on-screen setup. BlueStacks will configure a virtual Android environment automatically.
- Once BlueStacks is open, download the latest TiviMate APK from a trusted APK repository such as APKMirror or the TiviMate official site.
- In BlueStacks, click the APK installer button (or drag and drop the APK file into the BlueStacks window). The app installs within seconds.
- Launch TiviMate from the BlueStacks home screen.
- On the TiviMate welcome screen, select “Add playlist” and paste your M3U URL or enter your Xtream Codes credentials.
- Allow the playlist to load, then configure your EPG URL in the settings. Your channels will appear organized by group within a minute or two.
That’s it. You now have a fully working instance of TiviMate for Windows running through BlueStacks, complete with every feature the Android version offers.
Windows 11 Users: The WSA Method
If you’re running Windows 11, you have access to an additional option: the Windows Subsystem for Android (WSA). This is a native Microsoft feature that lets you run Android apps without a third-party emulator. The experience is leaner and closer to native performance, but the setup requires a few terminal commands.
How to Sideload TiviMate via WSA
- Enable WSA through Windows Features or the Microsoft Store (search “Windows Subsystem for Android”).
- Enable Developer Mode inside the WSA settings panel.
- Download and install Android Platform Tools (ADB) from the official Android developer site.
- Open a terminal and connect to WSA using the command below.
adb connect 127.0.0.1:58526
adb install TiviMate.apk
Once the APK is installed, TiviMate appears in your Windows Start menu like any regular app. It’s the cleanest way to run TiviMate for Windows if you’re comfortable with a command line – and a real advantage for TiviMate on Windows 11 users specifically.
Method 2 – Use a Native TiviMate Alternative for PC
Not everyone wants to run an emulator. If you prefer a lightweight, purpose-built Windows app that requires zero Android infrastructure, you have solid options. These TiviMate alternatives for PC won’t replicate every feature, but they handle M3U playlists, Xtream Codes logins, and EPG guides natively on Windows. If you’re also exploring other ways to manage your setup, it’s worth reading a complete guide to the Xtream IPTV application to see how Xtream Codes integration works across different platforms.
Top Native Windows IPTV Players in 2026
| App | Platform | M3U Support | EPG | Price | Notable Feature |
|---|---|---|---|---|---|
| IPTV Smarters Pro | Windows (via emulator or web) | Yes | Yes | Free / Premium | Closest UI to TiviMate |
| MyIPTV Player | Windows (Microsoft Store) | Yes | Yes | Free | Native Windows 10/11 app |
| VLC Media Player | Windows | Yes | No | Free | Universal, highly stable |
| Kodi + PVR Add-on | Windows | Yes | Yes | Free | Fully customizable |
| OTT Navigator | Android (emulator needed) | Yes | Yes | Free | TiviMate-like channel grid |
MyIPTV Player is the easiest native pick – it’s in the Microsoft Store, installs in one click, and works on both Windows 10 and Windows 11 out of the box. For power users who want deep customization, Kodi with the PVR IPTV Simple Client add-on delivers an experience you can shape entirely to your preferences.
Connecting Your IPTV Subscription to TiviMate on Windows
Whether you’re using TiviMate inside an emulator or a native Windows player, the connection process follows the same logic. Your IPTV provider gives you either an M3U URL or Xtream Codes credentials (a server URL, username, and password). Those details are what unlock your channels.
What You Need Before You Start
- An active IPTV subscription with M3U or Xtream Codes access
- A stable internet connection – at least 10 Mbps for HD, 25+ Mbps for 4K
- Your emulator (BlueStacks, LDPlayer, or WSA) or native Windows player already installed
Adding Your Playlist in TiviMate (Inside an Emulator)
- Open TiviMate inside your emulator and tap “Add playlist” on the welcome screen.
- Choose between M3U URL or Xtream Codes login – select whichever format your provider gave you.
- For M3U: paste the full URL your provider sent you. For Xtream Codes: enter the server URL, your username, and your password.
- Tap “Next” and wait for channels to load. Depending on the size of your playlist, this can take 10 to 60 seconds.
- Go to Settings, then EPG, and paste your EPG URL to activate the program guide.
- Return to the main screen. Your channels are now organized by group and ready to stream.
Tips for the Best Streaming Experience on PC
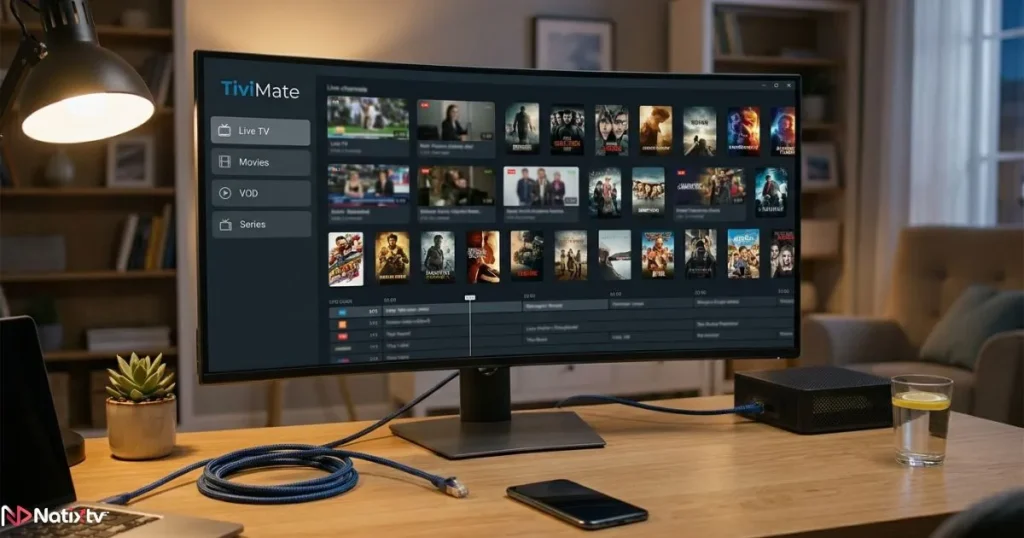
- Use a wired ethernet connection whenever possible – it eliminates the micro-buffering that Wi-Fi can cause on congested networks
- In TiviMate settings, enable hardware decoding so your GPU handles video rendering instead of your CPU
- Increase the buffer size slightly (try 5-10 MB) if you experience occasional stuttering on live channels
- Inside your emulator, allocate at least 4 GB of RAM and enable virtualization (VT-x or AMD-V) in your BIOS for optimal performance
- If catch-up TV isn’t working, confirm with your IPTV provider that it’s included in your plan – not all subscriptions include it
Troubleshooting Common TiviMate for Windows Problems
Even with a clean setup, you might run into occasional hiccups. Here’s a quick reference for the most common issues and how to resolve them.
| Problem | Likely Cause | Solution |
|---|---|---|
| Black screen on launch | GPU / hardware acceleration conflict | Toggle hardware acceleration in emulator graphics settings |
| Channels not loading | Incorrect or expired M3U URL | Double-check your URL with your IPTV provider |
| Constant buffering | Insufficient RAM allocated to emulator | Increase emulator RAM to 4 GB or more in settings |
| APK won’t install | Android version mismatch | Set emulator to Android 8.0 or higher |
| EPG not displaying | Wrong or missing EPG URL | Re-enter the EPG URL and wait up to 24 hours for it to populate |
| TiviMate crashes on open | Corrupted APK or outdated version | Uninstall, redownload the latest APK, and reinstall |
Most issues with TiviMate for Windows come down to either emulator configuration or playlist credentials. Before assuming something is broken, always verify that your M3U URL works by testing it in a browser or VLC first. Before committing to any subscription long-term, it’s also smart to check an essential checklist for choosing a reliable IPTV provider to avoid common pitfalls.
Why Pair TiviMate for Windows with a Natixtv Subscription?
The quality of your TiviMate experience depends as much on your IPTV provider as on your setup. A beautifully configured setup running on a premium machine will still buffer and drop channels if the stream behind it is unreliable. That’s where choosing the right provider makes all the difference – and if you’re watching iptv in usa, Natixtv is a name worth knowing.
- Full M3U and Xtream Codes compatibility – works instantly with TiviMate and every method described in this guide
- A wide catalog covering live sports, international channels, movies, series, and news
- Compatible with Android, Windows (via emulator), Smart TVs, Fire Stick, iOS, and more
- A free trial period of 24 to 48 hours so you can test everything before spending a cent
- Stable streams with low latency, even during peak hours on busy match days
- Fast setup: receive your credentials by email, paste them into TiviMate, and you’re live in under two minutes
Ready to experience TiviMate for Windows with a premium, stable stream?
Try Natixtv free for 24 to 48 hours and see the difference for yourself – no credit card required to start.
Frequently Asked Questions
Is there an official TiviMate for Windows application?
No. As of 2026, TiviMate has no official Windows version. It is an Android-only app distributed as an APK. To use TiviMate for Windows, you need to run it through an Android emulator like BlueStacks or LDPlayer, or use the Windows Subsystem for Android on Windows 11.
Can I use TiviMate on Windows 11 without installing an emulator?
Yes – Windows 11 users can use the Windows Subsystem for Android (WSA), which is a native Microsoft feature that lets you sideload Android APKs directly. It requires enabling Developer Mode and running a couple of ADB commands, but the result is a more native-feeling experience than a traditional emulator.
What is the best TiviMate alternative for PC without an emulator?
If you want a native Windows IPTV player without any emulation, MyIPTV Player (available on the Microsoft Store) is the simplest choice. For more advanced users, Kodi with the PVR IPTV Simple Client add-on offers deep customization and full EPG support.
How much RAM does my PC need to run TiviMate for Windows smoothly?
The emulator itself is the main resource consumer. For a smooth streaming experience, your PC should have at least 8 GB of total RAM, with 4 GB allocated to the emulator. A mid-range CPU with virtualization support (VT-x or AMD-V) and a dedicated GPU will give you the best results.
Can I use my existing IPTV subscription with TiviMate on Windows?
Yes. Any IPTV subscription that provides an M3U URL or Xtream Codes credentials is compatible with TiviMate when running through an emulator on your PC. Just paste your details into TiviMate’s playlist setup screen and your channels will load automatically.
Is it worth trying a free IPTV trial before committing to a subscription?
Absolutely. Testing your setup with a free trial is always the right move – it lets you confirm that your emulator, your TiviMate installation, and your internet connection all perform the way you expect before any money changes hands. Natixtv offers a 24 to 48-hour free trial with no strings attached, which is ideal for validating your full streaming setup end to end.
Final Thoughts: Your PC Is Ready to Become the Ultimate Streaming Hub
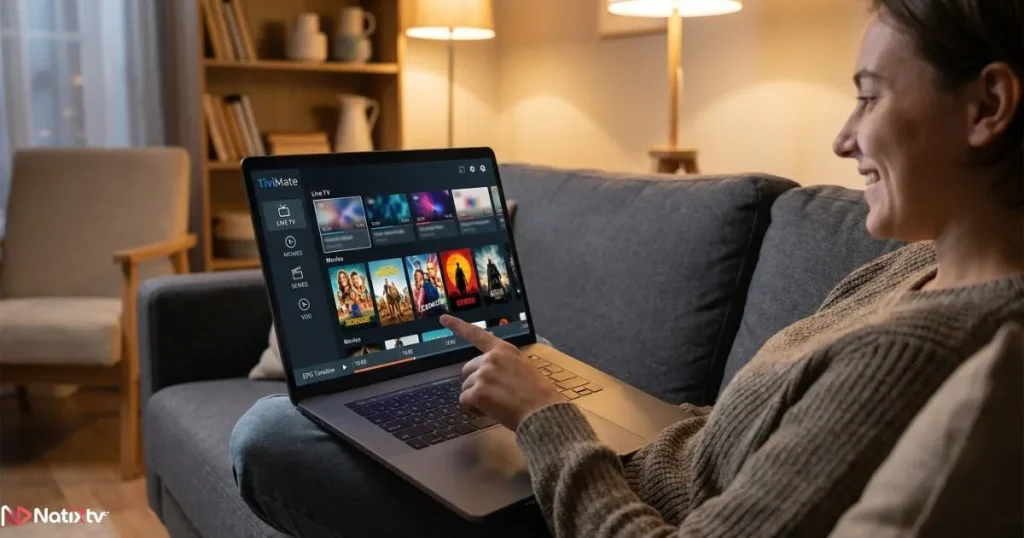
Getting TiviMate running on your PC isn’t a fantasy – it’s a fully achievable setup that thousands of IPTV users are already running every day. Yes, it takes an extra step compared to plugging in an Android box. But once you’ve done it, the experience is seamless: a premium IPTV interface on the biggest screen in your home office or living room, with every feature you’re used to working exactly as it should.
You now have everything you need. If you want an emulator-based setup, BlueStacks is your fastest path. If you’re on Windows 11 and want something leaner, WSA delivers a near-native experience. If you’d rather skip emulation entirely, MyIPTV Player or Kodi will serve you well. The one thing all of these setups have in common is that they’re only as good as the IPTV stream powering them.
That’s why the last piece of this puzzle matters as much as the first. Pair your setup with a reliable, high-quality IPTV provider – one built for users watching iptv in usa who expect stability, speed, and a wide channel catalog. With Natixtv’s 24 to 48-hour free trial, you can test every part of your TiviMate for Windows setup at zero cost and zero risk. Your couch, your screen, your channels – starting today, for free.