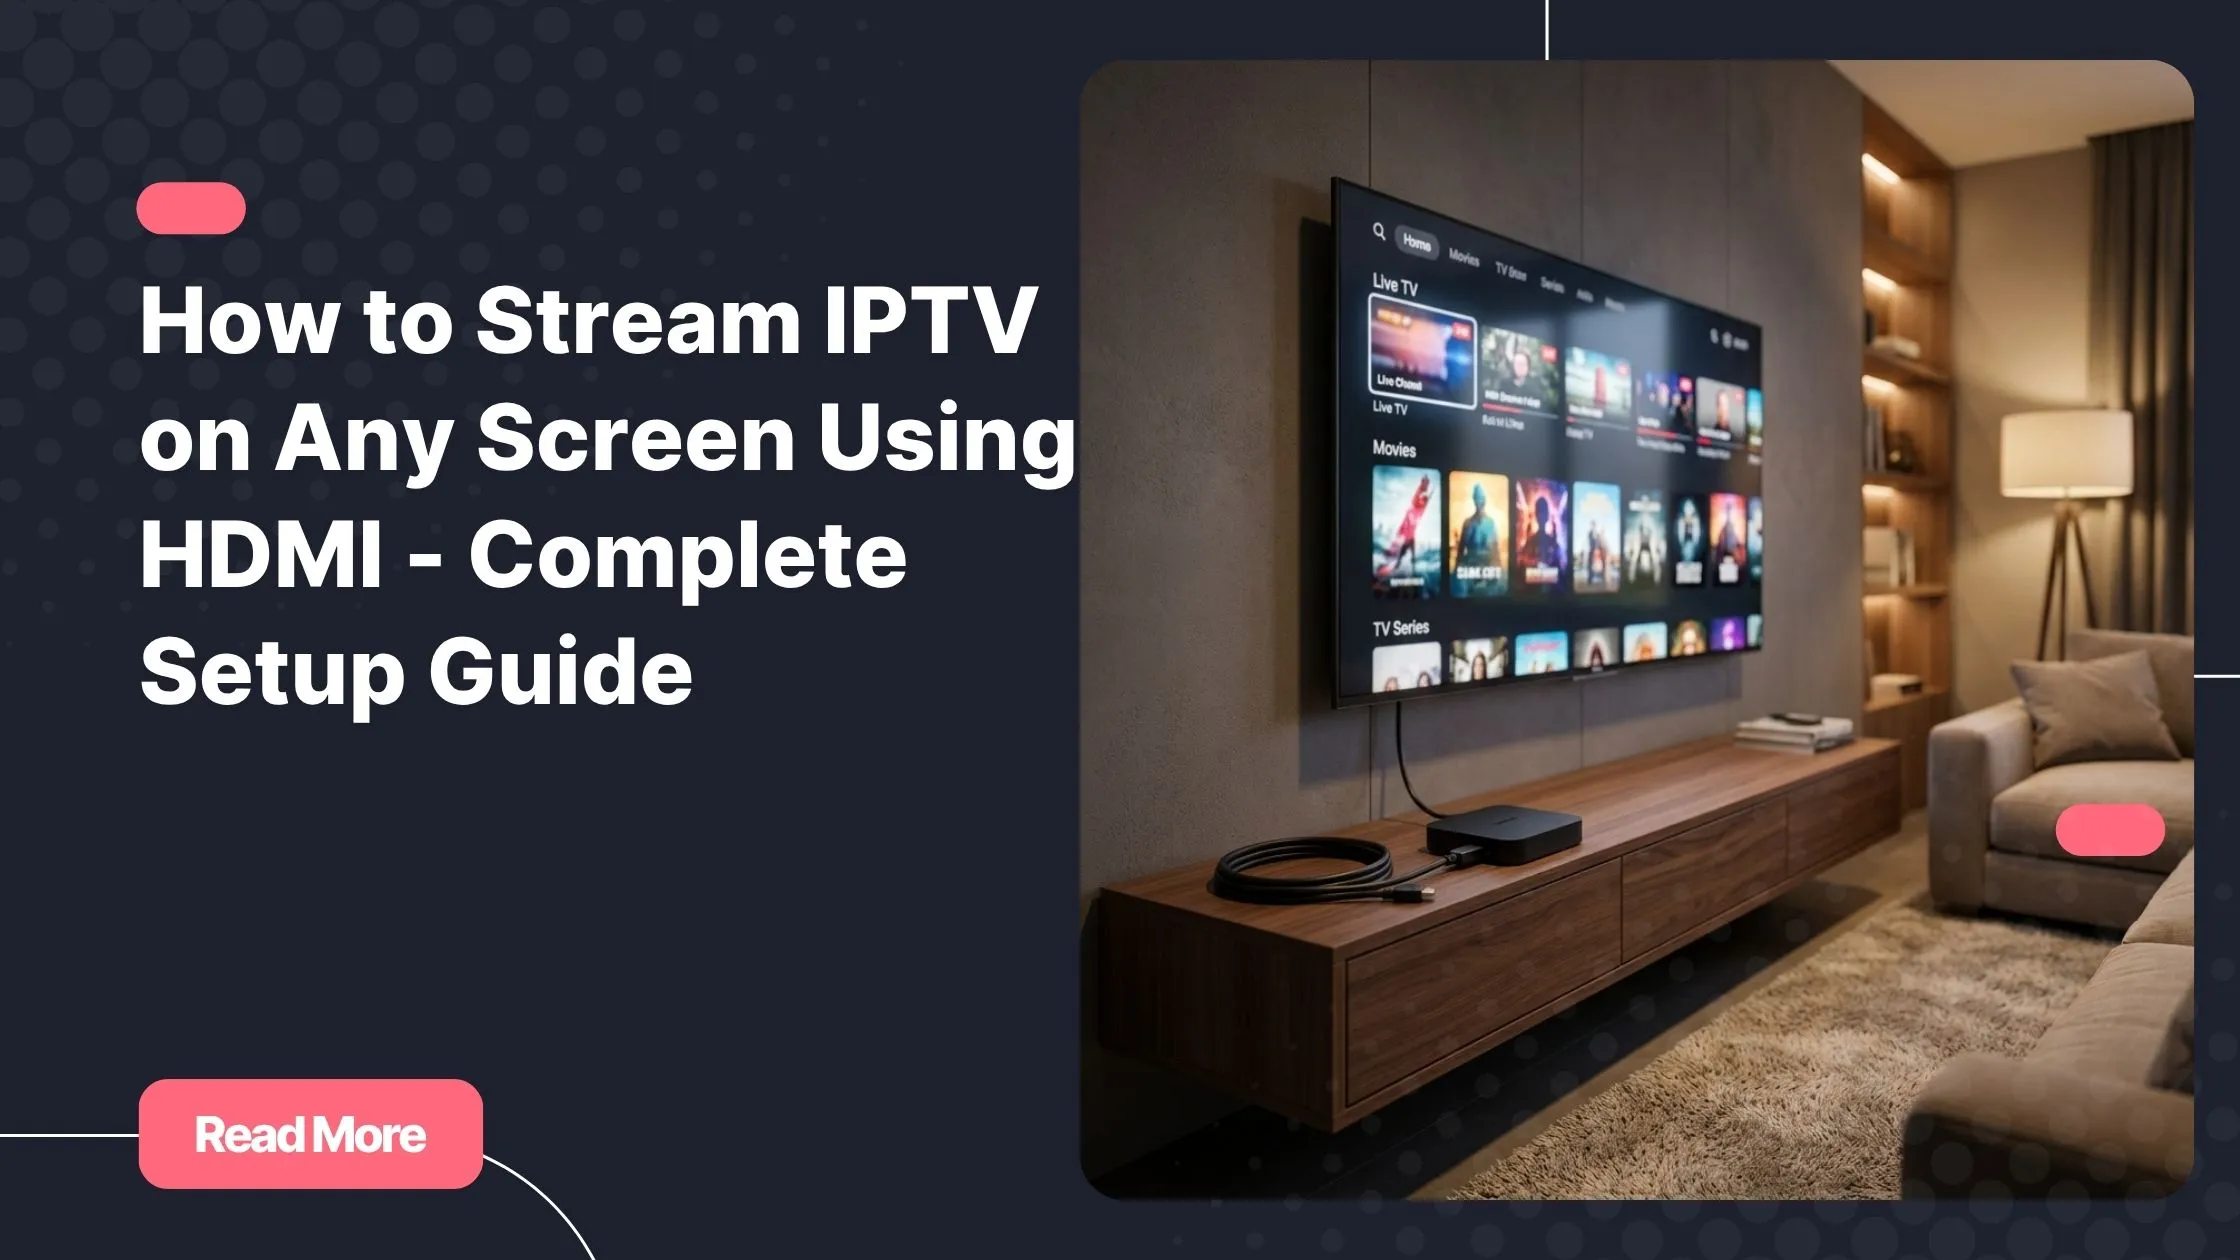
You finally signed up for an IPTV service. The excitement is real: hundreds of live channels, on-demand films, sports in crystal-clear HD, all available the moment you need them. Then you sit down in front of your TV and realize you are not sure how to get the picture on the screen. That moment of uncertainty is more common than you think, and it is exactly what this guide is here to fix. Whether you are a first-timer or upgrading your setup, understanding how hdmi to iptv connections work is the single most useful thing you can learn about home streaming. For the smoothest experience possible, start with a top rated iptv provider before touching a single cable.
The good news is that setting up hdmi to iptv is genuinely straightforward. No engineering degree required. One cable, the right device, and a reliable subscription are all you need. This guide walks you through every scenario – from an old flatscreen with no smart features to the latest 4K OLED – so you can stop guessing and start watching.
Table of Contents
What Is HDMI to IPTV and Why Does It Matter?
Before diving into cables and ports, it helps to understand what each part of the phrase actually means – and why the combination matters so much for your viewing experience.
Understanding IPTV in Plain English
IPTV stands for Internet Protocol Television. Instead of receiving a signal through a satellite dish or a coaxial cable plugged into the wall, you stream TV channels directly over your internet connection. The video travels the same route as a YouTube video or a Netflix film – through your router, into your device, and onto your screen.
This model gives you flexibility that traditional broadcast TV simply cannot match. You can watch live sports, catch up on yesterday’s news, or browse a library of on-demand content from any device with an internet connection. According to Statista, the global IPTV market is on track to surpass $100 billion in the coming years, driven by exactly this kind of cord-cutting shift.
The Role of HDMI in Your Streaming Setup
HDMI – High-Definition Multimedia Interface – is the cable and port standard that carries both audio and video through a single connector. When you route hdmi to iptv, you are bridging the gap between the device running your IPTV app and the screen displaying the picture. It is the last link in the chain, and it matters more than most people expect.
HDMI versions worth knowing about:
- HDMI 1.4: supports up to 1080p and basic audio formats. Perfectly fine for HD streaming.
- HDMI 2.0: supports 4K at 60fps and HDR. The sweet spot for most modern IPTV setups.
- HDMI 2.1: supports 8K and 120fps. Needed only for the most demanding next-gen content.
For the vast majority of IPTV users, an HDMI 2.0 cable covers everything you will ever need.
Which IPTV Devices Work with HDMI?
One of the great strengths of IPTV via HDMI is how many different devices support it. Whatever hardware you already own, there is almost certainly a path to getting your subscription on the big screen.
Dedicated IPTV Boxes
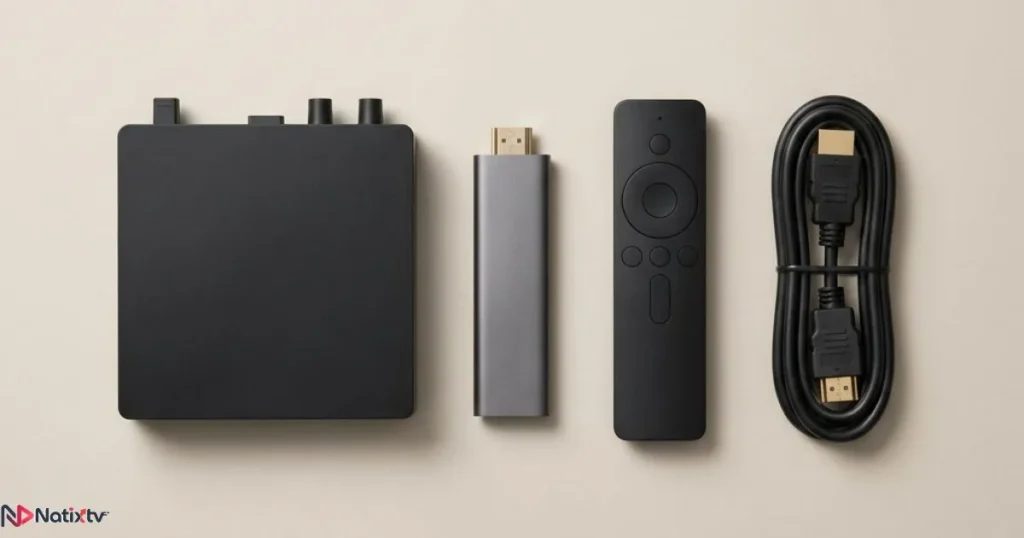
A dedicated IPTV box – brands like MAG, Formuler, or Buzz TV – is designed from the ground up for this purpose. Every IPTV box HDMI output is standard, which means you simply plug the cable in, switch your TV to the correct input, and you are ready to go. These boxes tend to offer the most stable performance, the widest app support, and the most consistent picture quality.
If you want the full, uncompromised IPTV experience and plan to use it daily, a dedicated box is worth the investment. Most sit between $30 and $80, and they outperform a smartphone or tablet in almost every scenario.
Streaming Sticks: Fire TV, Roku, Chromecast
Streaming sticks plug directly into the HDMI port on your TV, making them function as a compact HDMI adapter for IPTV. They run their own operating systems (Amazon’s Fire OS, Google TV, Roku OS), and most support popular IPTV player apps like TiviMate, IPTV Smarters Pro, and GSE Smart IPTV.
The main advantages are their size (they disappear behind the TV) and their price. The main limitation is that some apps are harder to sideload depending on the platform. Fire TV sticks tend to be the most open for IPTV purposes.
Smart TV IPTV: The Built-In Route
If you own a modern Smart TV from Samsung, LG, or Sony, you may already have an app store where you can install an IPTV player directly. Smart TV IPTV is convenient because there are no extra devices to manage – your subscription runs natively on the screen itself.
That said, Smart TV app stores are more restricted than Android, and your chosen IPTV app may not be available. In that case, connecting an Android box or Fire Stick via HDMI is the cleaner workaround.
Laptops, Tablets, and Older TVs
Got a laptop? Run your IPTV subscription through a browser or a desktop player app, then mirror the screen to your TV using an HDMI cable. The image quality is excellent, and it requires zero additional hardware beyond the cable itself.
For older screens without HDMI inputs, an HDMI adapter for IPTV bridges the gap. HDMI-to-VGA and HDMI-to-composite converters are widely available and cost under $20. You may lose some picture quality on analogue outputs, but the content still gets to the screen.
| Device Type | HDMI Output | App Flexibility | Best For | Price Range |
|---|---|---|---|---|
| Android IPTV Box | Full HDMI out | High | Daily power users | $30 – $80 |
| Fire TV Stick | Plugs into HDMI | Medium | Casual streamers | $25 – $55 |
| Smart TV (built-in) | N/A (direct) | Low to medium | Minimal setup | N/A (TV cost) |
| Laptop via HDMI cable | HDMI or adapter | Very high | Flexible users | Cable only (~$10) |
| Older TV + HDMI adapter | Via converter | Depends on device | Budget setups | $10 – $25 |
Step-by-Step: How to Set Up HDMI to IPTV
Now that you know your options, here is how to connect IPTV to TV from scratch. Follow these steps in order and you will have a working hdmi to iptv setup in under ten minutes.
Step 1 – Gather Everything You Need
- An active IPTV subscription (a top rated iptv provider like Natixtv offers a free 24 to 48-hour trial so you can test before committing)
- An HDMI cable rated at 2.0 or higher for 4K content
- Your chosen IPTV device (box, streaming stick, or laptop)
- A stable internet connection: at minimum 10 Mbps for HD, 25 Mbps for reliable 4K
Before picking a subscription, it is worth reviewing what separates quality providers from the rest. This guide on key factors to evaluate before choosing an IPTV service covers reliability, content libraries, and support – all the things that matter once you are set up and streaming daily.
Step 2 – Connect Your Device to the TV
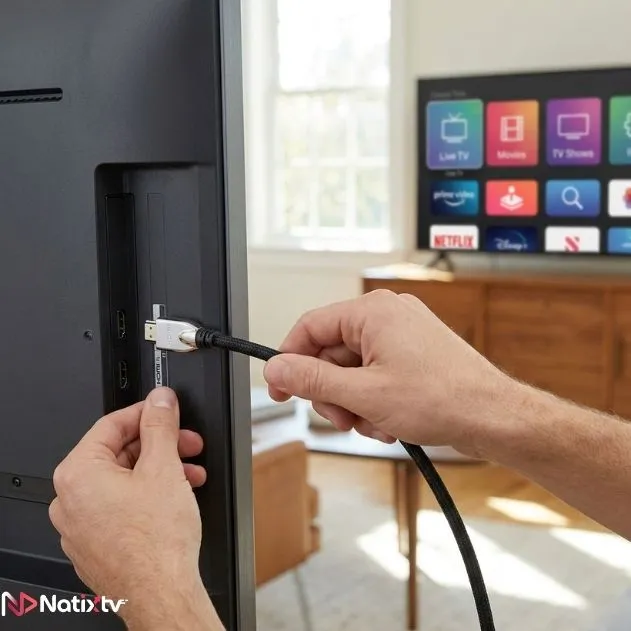
- Plug one end of the HDMI cable into the HDMI output port on your IPTV device or box.
- Plug the other end into an available HDMI input port on your TV.
- Use your TV remote to switch the input source to the correct HDMI channel (HDMI 1, HDMI 2, etc.).
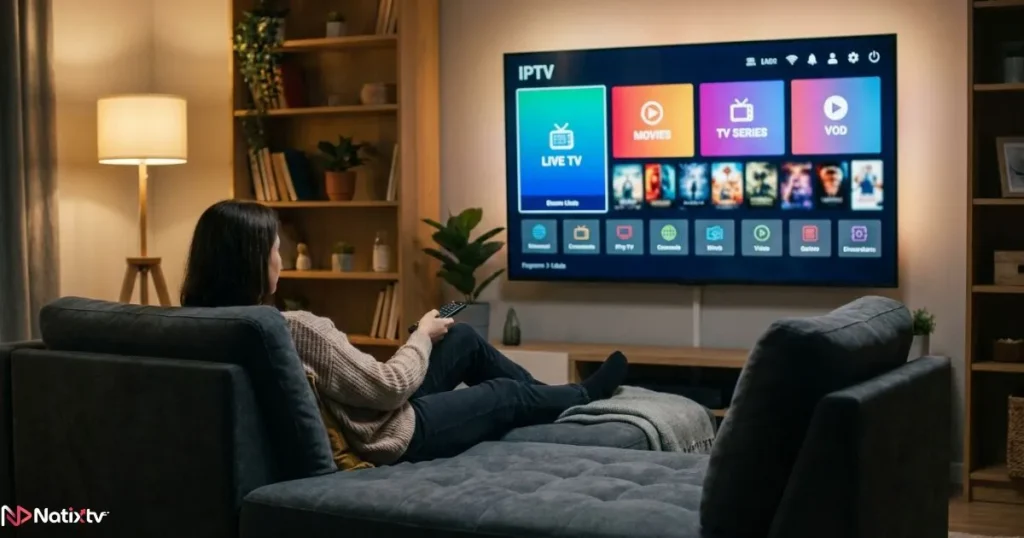
- Power on your IPTV device – the home screen should appear on your TV within seconds.
Step 3 – Configure Your IPTV App or Player
The most popular IPTV player apps right now are TiviMate, IPTV Smarters Pro, and Perfect Player. All three accept the same types of credentials:
- M3U URL: a direct link to your channel playlist, provided by your IPTV provider
- Xtream Codes: a server address with a username and password – the most common format
- EPG (Electronic Programme Guide): an optional but recommended feature that displays schedules like a traditional TV guide
Once your credentials are entered and the playlist loads, your channels appear in a familiar grid or list. Understanding how IPTV playlists are structured can make your setup faster – this overview of how IPTV playlist formats work and what to expect from them is an excellent starting point.
Step 4 – Test and Optimize Your Stream
- Open a live channel and check that both picture and sound come through cleanly.
- If the image looks soft, check the player’s video output settings and set them to match your TV’s native resolution.
- Enable hardware decoding in the player settings to reduce CPU load and eliminate stuttering.
- If your TV supports HDR, make sure it is enabled in both the TV settings and the IPTV player.
Common HDMI IPTV Setup Problems and How to Fix Them
Even with the right hardware, small issues can get in the way. Here are the most common problems people encounter when they first configure hdmi to iptv, along with straightforward solutions.
Black Screen or No Signal on the HDMI Input
This is the most frequently reported issue, and it almost always has a simple cause:
- Your TV is set to the wrong input source. Press the Input or Source button on your remote and cycle through the HDMI options until the picture appears.
- The HDMI cable is not fully seated. Disconnect both ends and reconnect them firmly.
- The cable itself is faulty. Try a different cable before assuming the device is the problem.
Audio but No Video (or Video but No Audio)
This mismatch is usually caused by an HDCP handshake failure between your device and the TV. HDCP is a copy-protection protocol built into HDMI, and sometimes the two devices need a moment to authenticate each other properly.
- Restart both the TV and the IPTV device.
- Update the firmware on your IPTV box or streaming stick.
- If the problem persists, try a different HDMI port on the TV.
Buffering and Lag During Playback
Buffering in an HDMI streaming setup is almost never caused by the HDMI cable itself. The culprit is almost always the network. Try these fixes in order:
- Switch from Wi-Fi to a wired Ethernet connection. The difference is often dramatic.
- Disconnect other devices that may be competing for bandwidth during peak hours.
- Temporarily lower the stream quality in your IPTV player to see if that resolves the stutter.
- Check whether a VPN is active – VPNs can significantly reduce throughput if the server is distant.
App Crashes on the HDMI-Connected Device
If your IPTV player closes unexpectedly or freezes, the fix is usually one of the following:
- Clear the app cache (Settings – Apps – your player – Clear Cache).
- Uninstall and reinstall the latest version of the app.
- If the device has limited RAM (under 2GB), consider upgrading to a newer IPTV box for a more reliable experience.
HDMI Accessories Worth Adding to Your Setup
Getting your hdmi to iptv connection working is the foundation. These accessories take the experience further.
HDMI Switches
If you have multiple IPTV devices and only one or two HDMI ports available on your TV, an HDMI switch lets you connect three, four, or more sources and toggle between them with a remote. No need to crawl behind the TV to swap cables.
HDMI Audio Extractors
An audio extractor sits between your IPTV device and your TV and pulls the audio signal out so it can be sent to a soundbar, amplifier, or AV receiver via optical or RCA connections. Ideal if your TV’s built-in speakers do not do justice to your content.
Wireless HDMI Transmitters
Running a cable across the room is not always practical. Wireless HDMI kits transmit the signal from your IPTV box to a receiver plugged into the TV’s HDMI port, with no cable required. Quality varies by product, but reputable kits introduce less than 1ms of lag – imperceptible during normal viewing.
Quick tip: Always use a certified HDMI 2.0 cable for 4K IPTV content. Cheap, uncertified cables can drop signal at high resolutions even when they look identical to quality ones from the outside.
Why Natixtv Works Perfectly with Every HDMI IPTV Setup
Every setup covered in this guide – Android boxes, streaming sticks, Smart TV IPTV apps, laptops, and older screens with adapters – is fully compatible with Natixtv. The service supports M3U playlists, Xtream Codes, and all the major player apps, which means you can connect your hdmi to iptv hardware and load your Natixtv subscription within minutes.
What makes Natixtv particularly well-suited to a quality HDMI streaming setup:
- Streams optimized for HD and 4K output via HDMI
- Multi-device support, so every HDMI-connected screen in your home can run simultaneously
- A stable, low-buffering infrastructure built for consistent daily use
- Full EPG support so your channels display schedules like a proper TV guide
- A free trial period of 24 to 48 hours – test the service on your own hardware before committing to a paid plan
There is no reason to commit to a subscription without testing it on your specific screen and device first. The free trial exists precisely for that purpose.
Frequently Asked Questions
What does connecting hdmi to iptv actually involve?
It means linking an IPTV-capable device – such as an Android box, a streaming stick, or a laptop – to your TV screen using an HDMI cable. The device handles the internet connection and runs your IPTV app, while the HDMI cable carries the combined audio and video signal to the display. The result is a full-screen, high-definition viewing experience on any HDMI-equipped TV.
Can I use hdmi to iptv on a TV that has no smart features?
Yes. Any TV with at least one HDMI input can work with IPTV. Simply connect an Android IPTV box or a streaming stick to the HDMI port. The device provides all the smart functionality your TV lacks – app store, internet connection, and media player – and streams the picture through HDMI as if it were built in.
Do I need a special HDMI cable for IPTV streaming?
Not necessarily special, but quality matters. A certified HDMI 2.0 cable handles 4K at 60fps with HDR, which covers everything the best IPTV streams currently offer. HDMI 2.1 is only relevant if you are streaming 8K or 120fps content. Avoid very cheap, unbranded cables for 4K setups – they can cause signal dropouts even when they appear to work.
Is using an IPTV box via HDMI better than a built-in Smart TV app?
It depends on your TV. Smart TV IPTV apps are convenient if your TV’s app store supports your preferred player. But dedicated IPTV boxes via HDMI generally offer faster processors, more RAM, and better app compatibility – which translates to smoother channel switching and fewer crashes. If your Smart TV’s performance feels sluggish with IPTV apps, an external box is the upgrade to make.
How much internet speed do I need for smooth hdmi to iptv streaming?
A reliable rule of thumb: 5 Mbps for standard definition, 10 to 15 Mbps for HD content, and 25 Mbps or more for consistent 4K streaming. These figures assume the connection is stable rather than merely fast – a wired Ethernet connection will outperform even a fast Wi-Fi signal during peak hours.
Does Natixtv support hdmi to iptv setups on all devices?
Yes. Natixtv is compatible with Android IPTV boxes, Fire TV sticks, Smart TVs, laptops, and any other device you might connect via HDMI. It supports M3U and Xtream Codes formats, works with all major IPTV player apps, and includes a 24 to 48-hour free trial so you can verify compatibility with your own hardware before subscribing.
Conclusion: Your Best Streaming Experience Starts with the Right Connection
Getting your IPTV subscription onto the big screen is not complicated once you know what connects to what. Whether you are using a dedicated Android box, a Fire Stick tucked behind the TV, a built-in Smart TV IPTV app, or simply a laptop cable, the principle is the same: a reliable internet connection, the right player app, and a quality HDMI cable are all it takes to transform any screen into a full-featured entertainment system.
The most common mistake is overthinking the hardware while underestimating the importance of the IPTV service itself. Buffering, channel drops, and poor EPG data are service problems, not HDMI problems. Start with a provider built for stability and compatibility, and the rest of the setup falls into place naturally.
Natixtv is built precisely for that. Compatible with every device and connection type covered in this guide, offering HD and 4K-optimized streams, and backed by a free 24 to 48-hour trial – there is every reason to test it on your own screen today. Visit top rated iptv and start your free trial. Your next great streaming experience is already waiting on the other side of one HDMI cable.